These days one parks your vehicle at the eastern edge of the park, which is actually the north east corner where there is a sand car park.
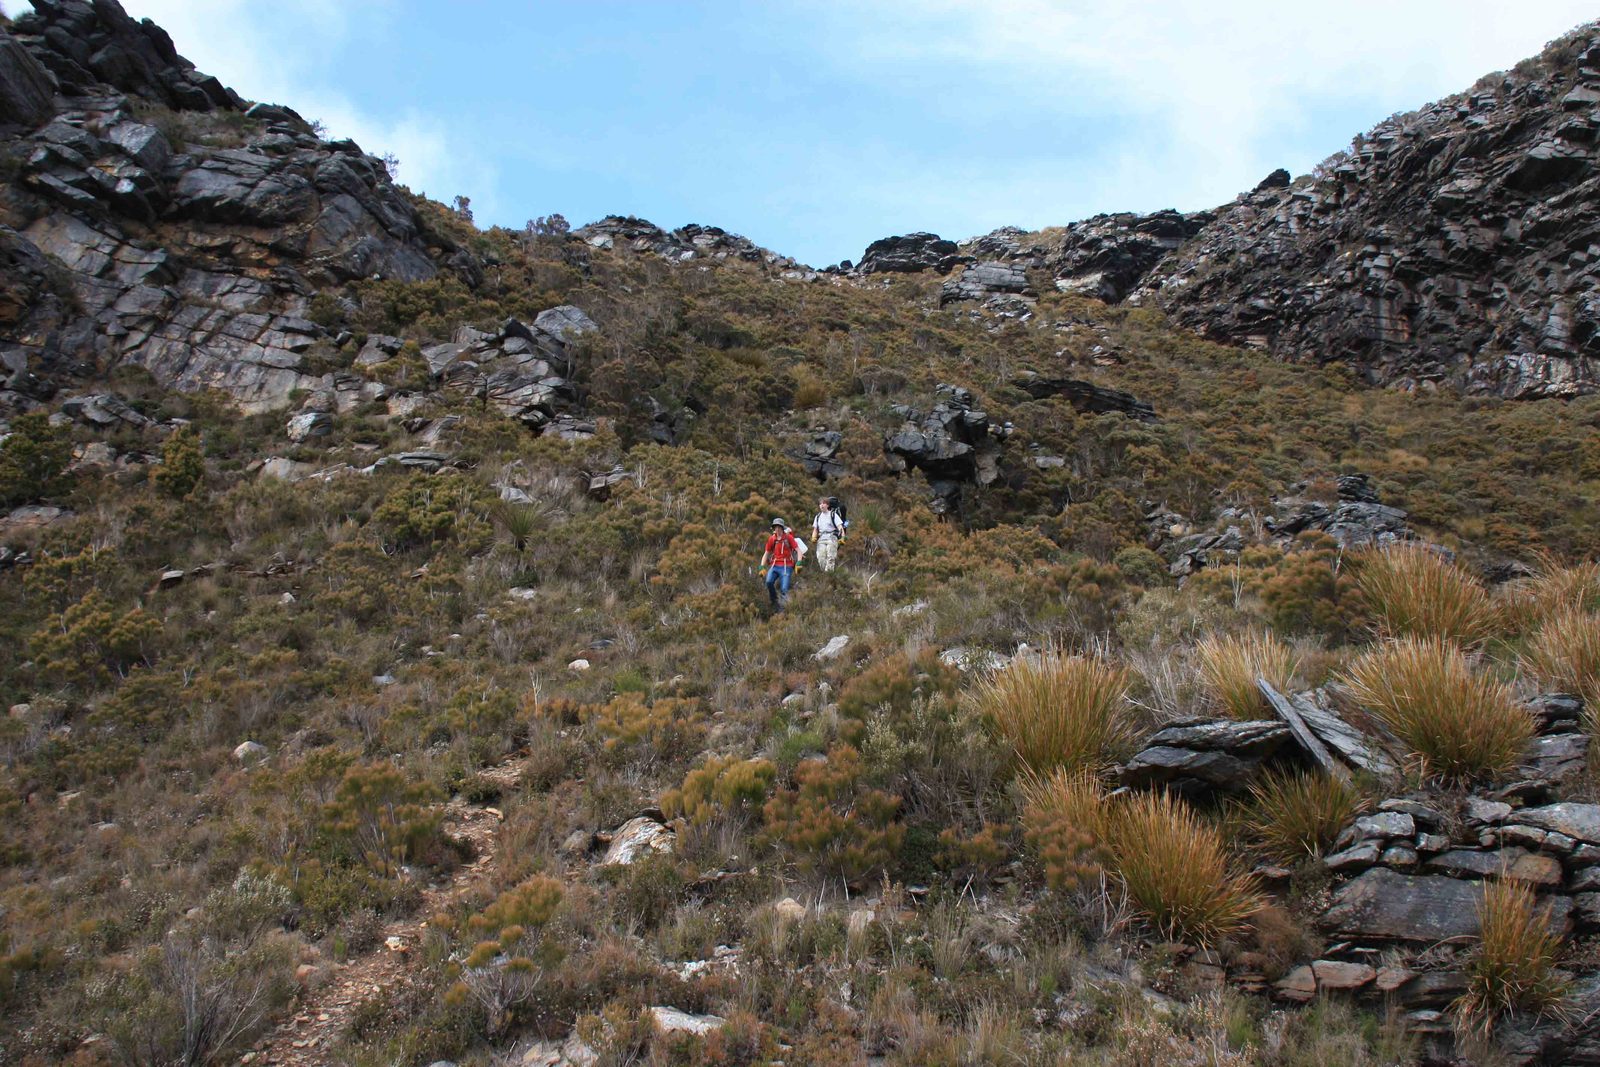
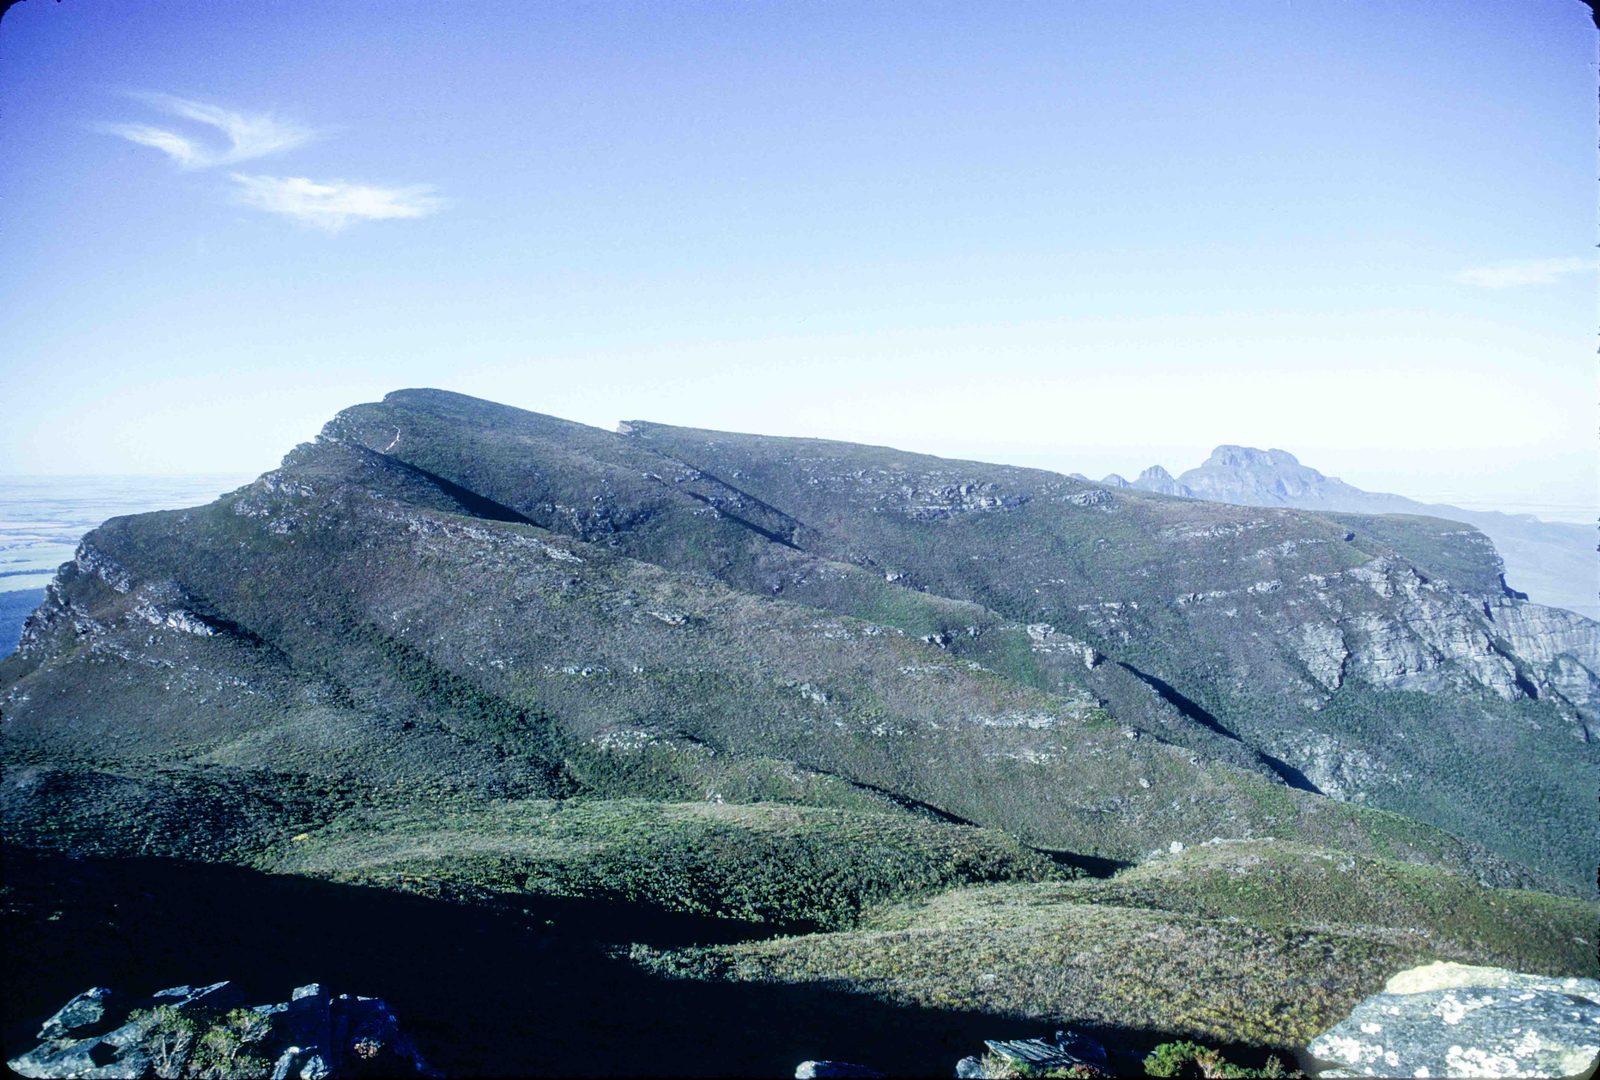
You simply take the fire break due west. You will soon realise that there are two fire breaks travelling in parallel and it does not really matter which one you take. You will walk some kilometres which will take possibly an hour and a half before either turning left to take the track up Moir Hill (C) or continuing on the way you think the closest point is to the ridge leading down from Ellen Peak (D). This leads down in a north-north-easterly direction and you will notice partial tracks heading in a southerly direction from the fire break leading straight to the ridge going up a small hill, which many of us called Misery Hill because of its steepness.
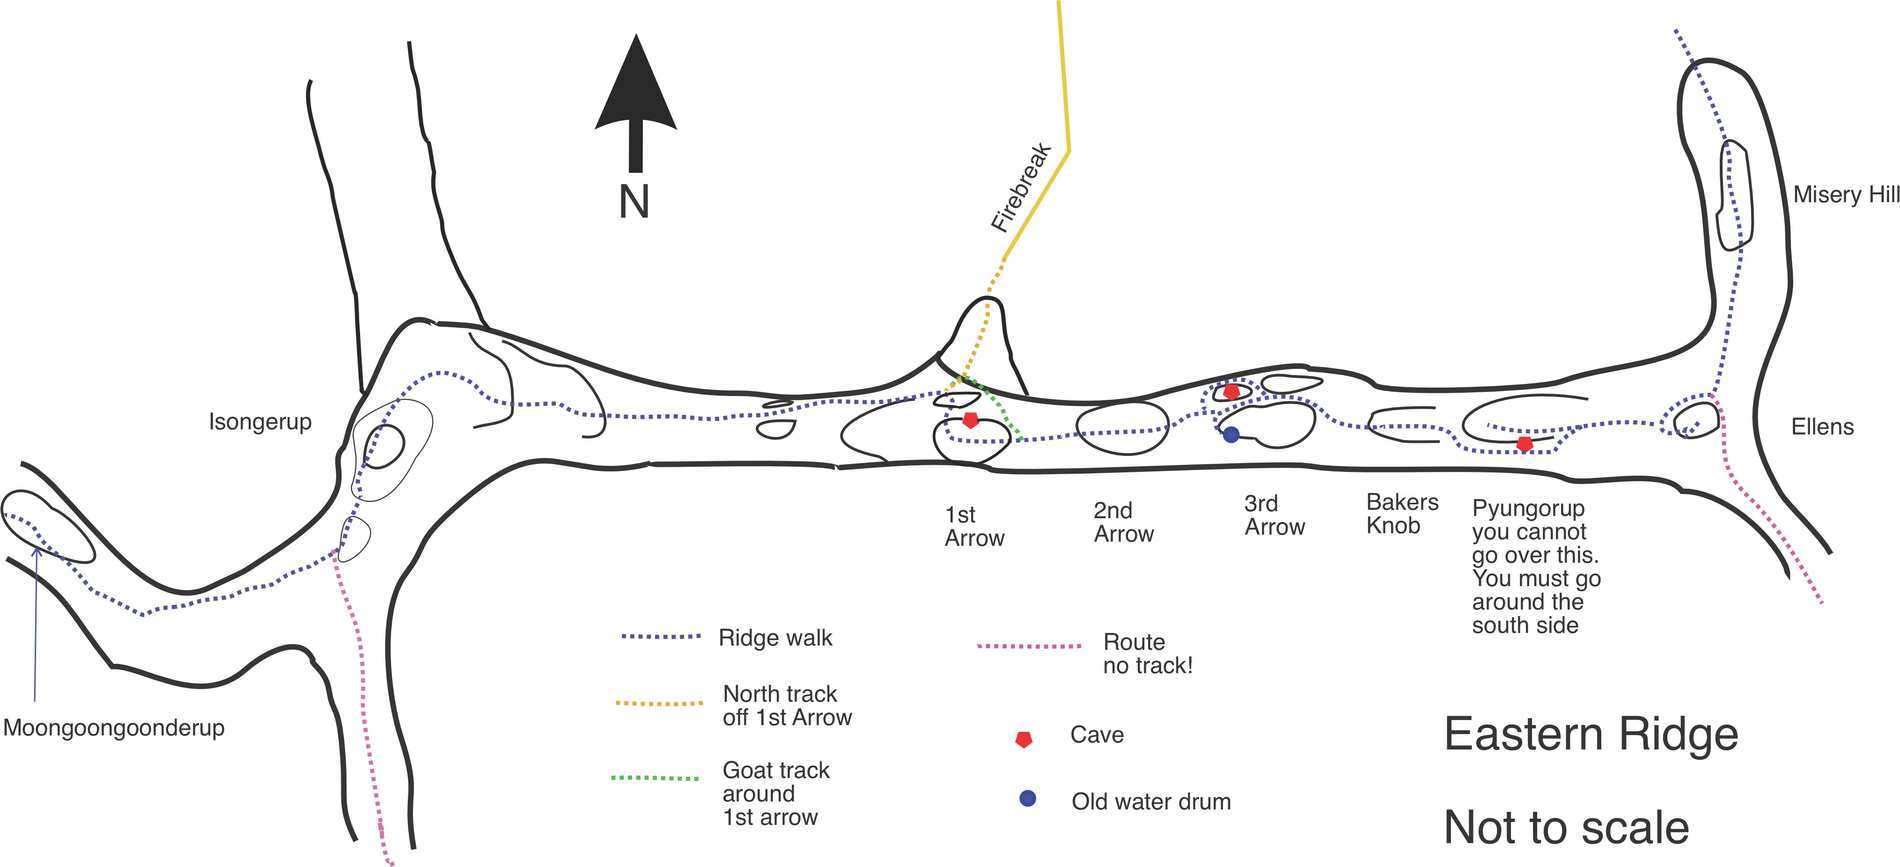
Base of Misery Hill to Ellen Peak dome
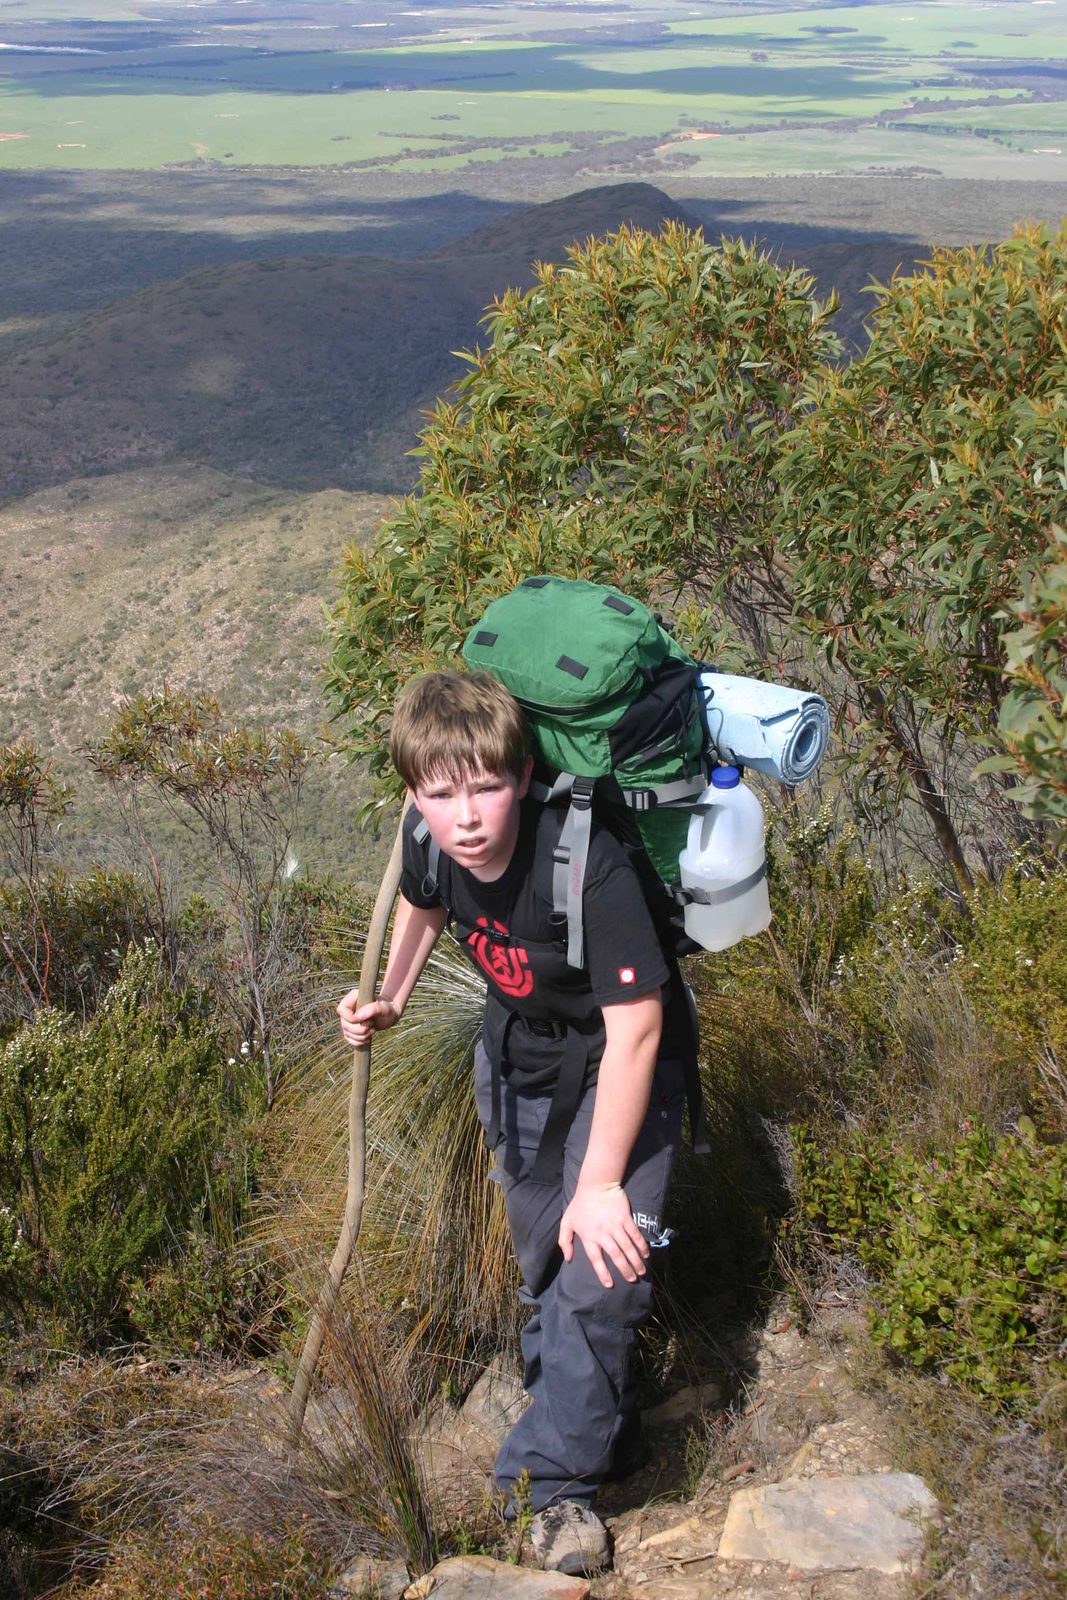
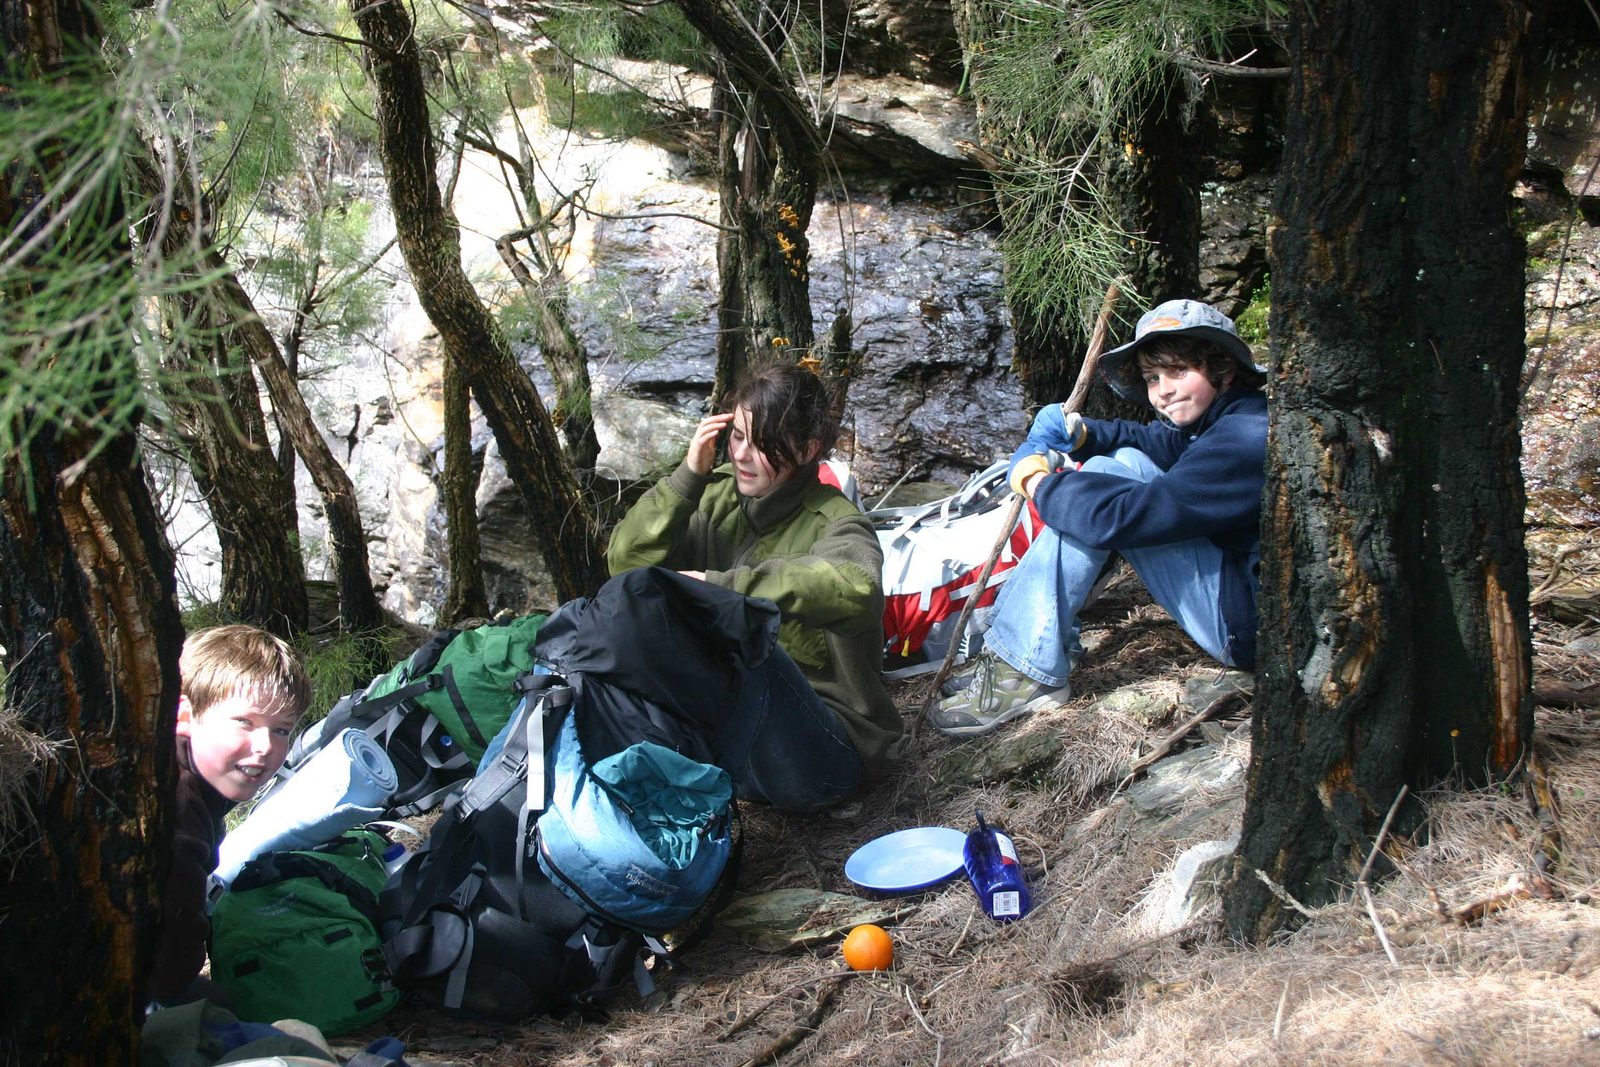
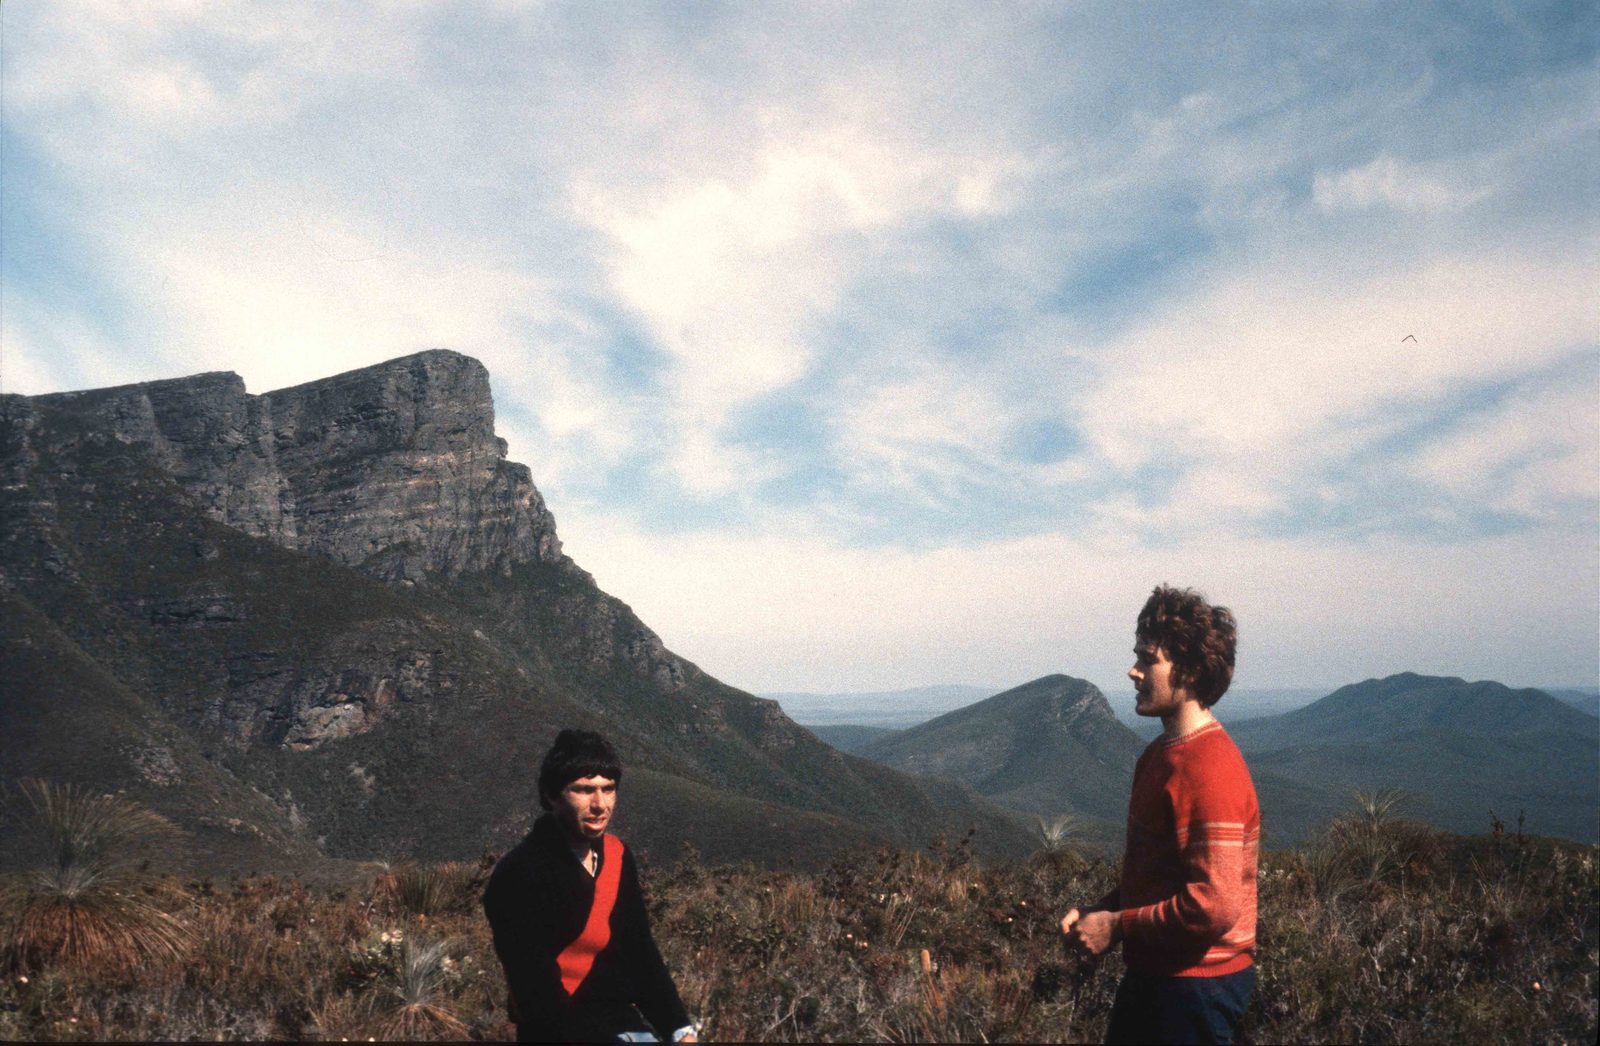
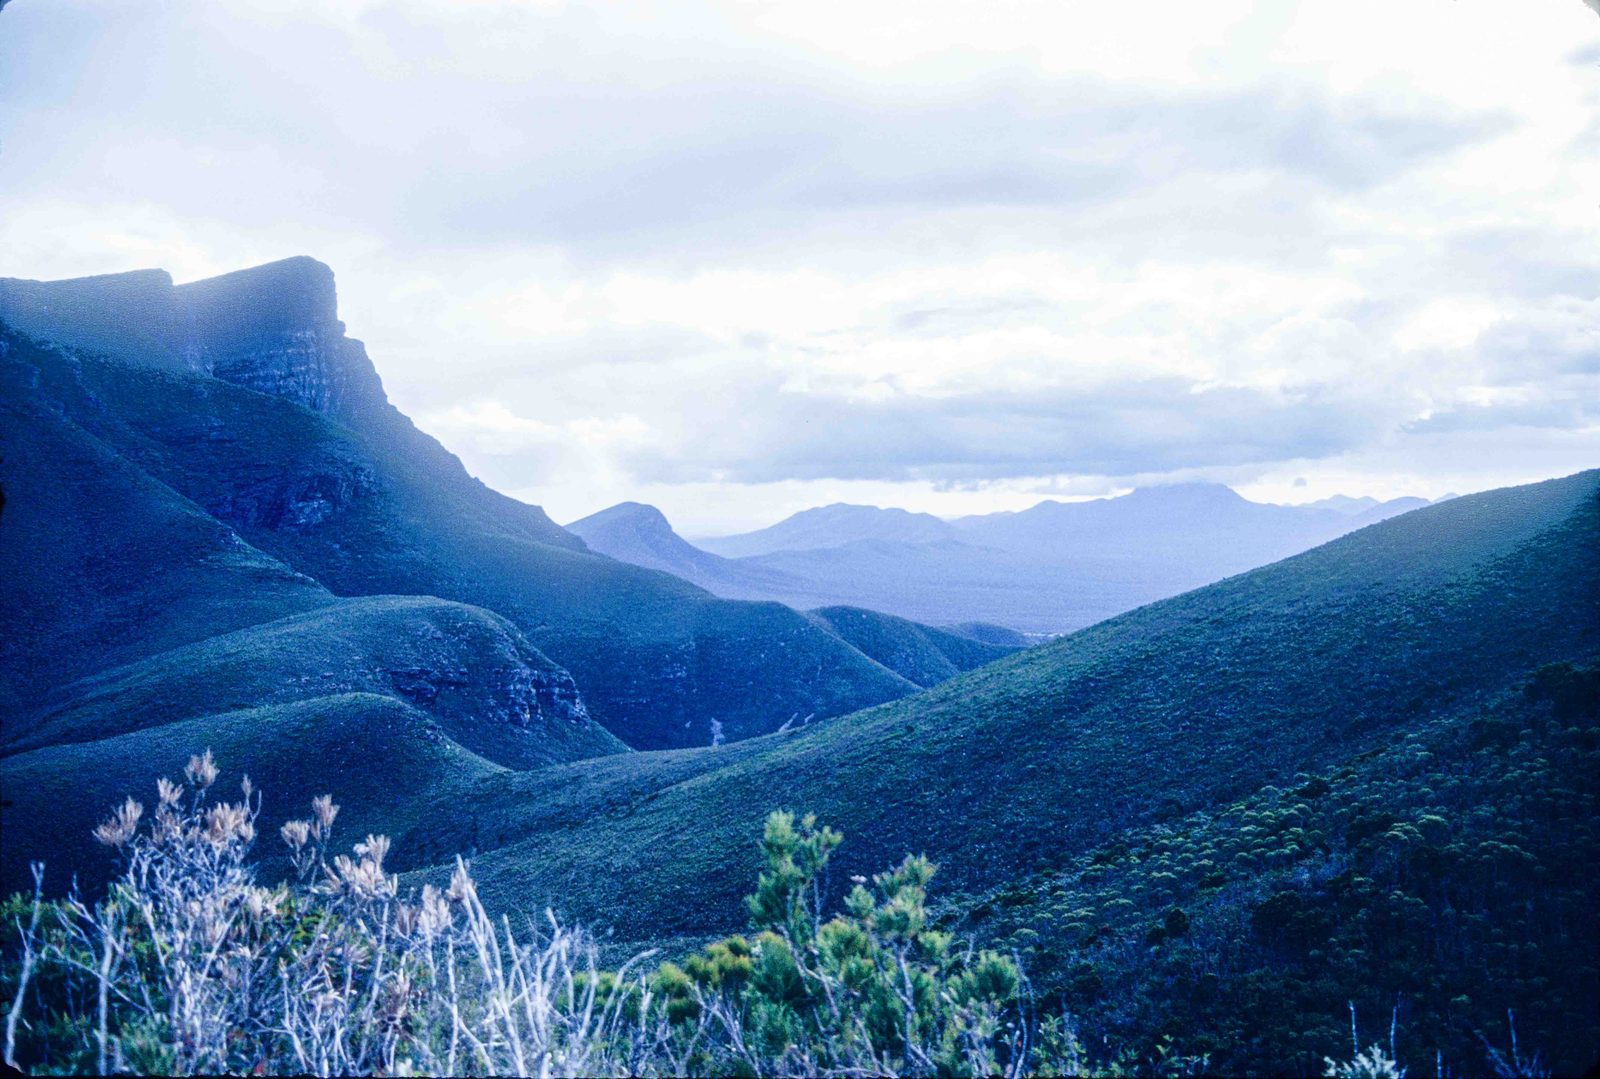
2.5 hoursMake sure that you find the track leading up Misery Hill (F). It is easy to go too far to the west and end up with a bush bash to the top which makes it even more miserable. You will be carrying a heavy load with lots of water and food etc at this quite steep part. From the base of this small hill the track is actually very good, for the Ridge Walk. It is steep and rocky but is not technical at all. It is a 2 ½ hour slog up to the base of Ellen peak. You will reach the peak of this hill which forms a lovely view and is often a natural place to stop for lunch. It will then descend slightly to a saddle before ascending up the steep walk to the Ellen Peak dome. Pause for a minute in the saddle because many years ago there was an absolutely beautiful grove of Dryandra Formosa growing here, which was probably one of the most stunning parts of the walk. One could camp amid the Dryandra, with the floor of the tent on multiple petals. Unfortunately, this grove was wiped out in a bushfire in the 1980s and has not yet grown back.
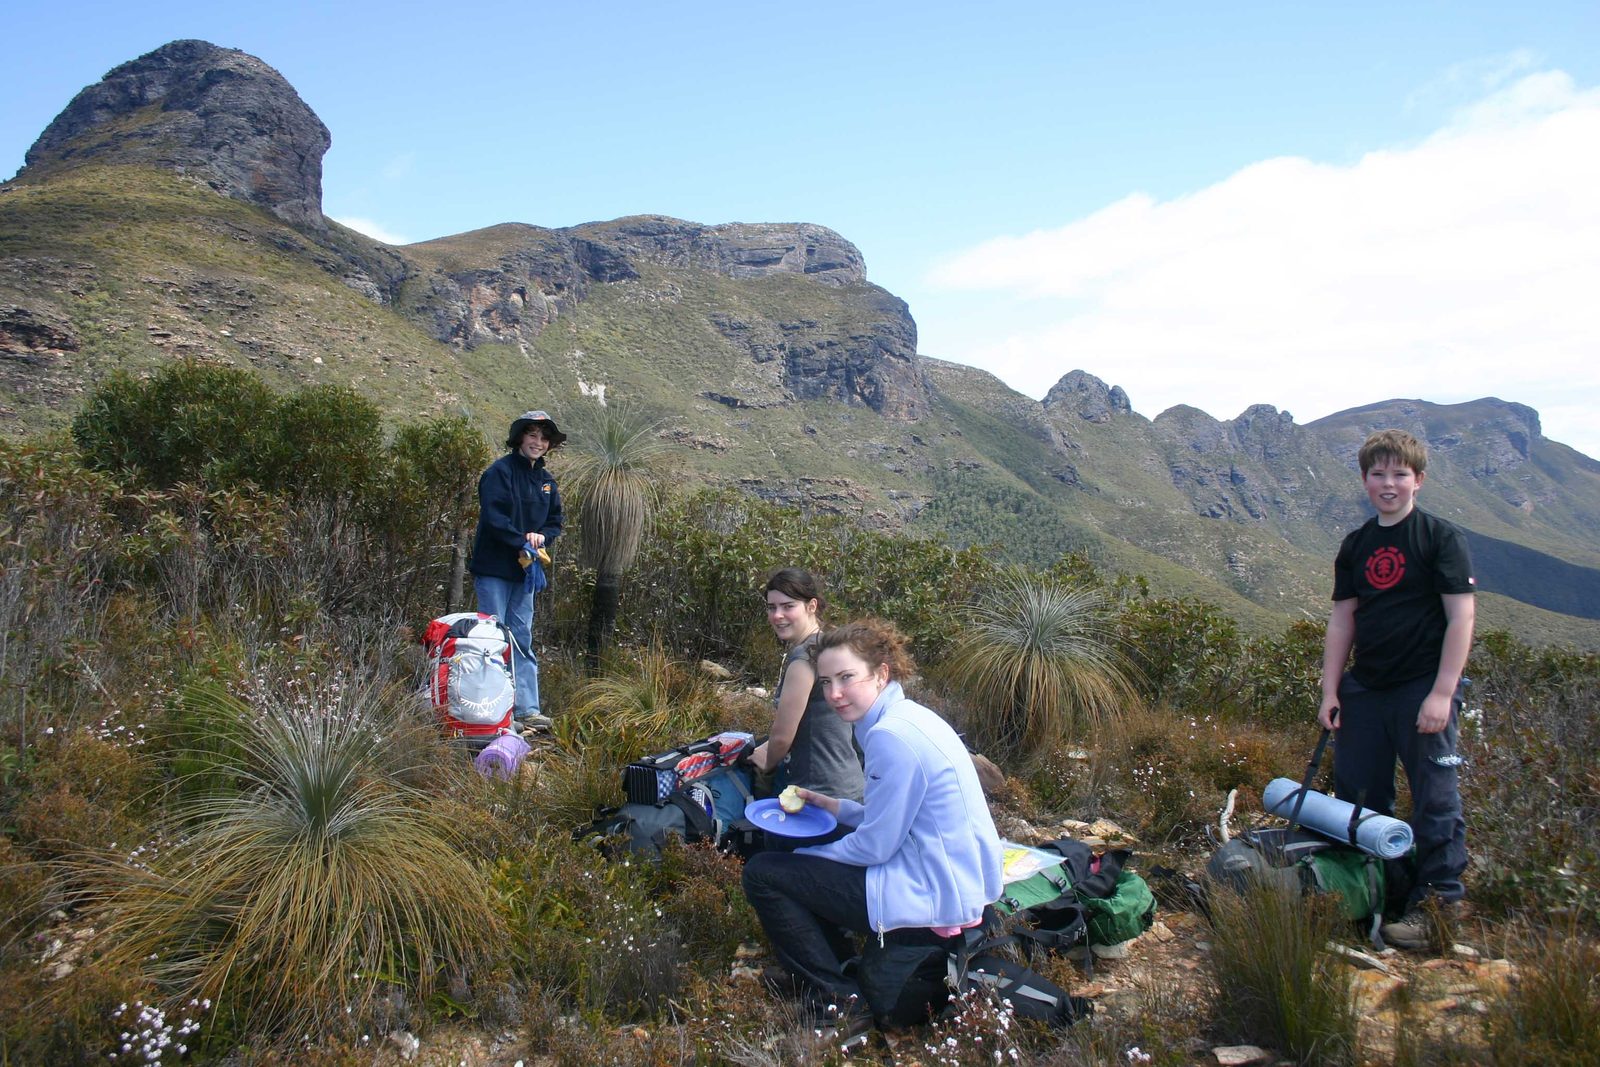
Ellen Peak
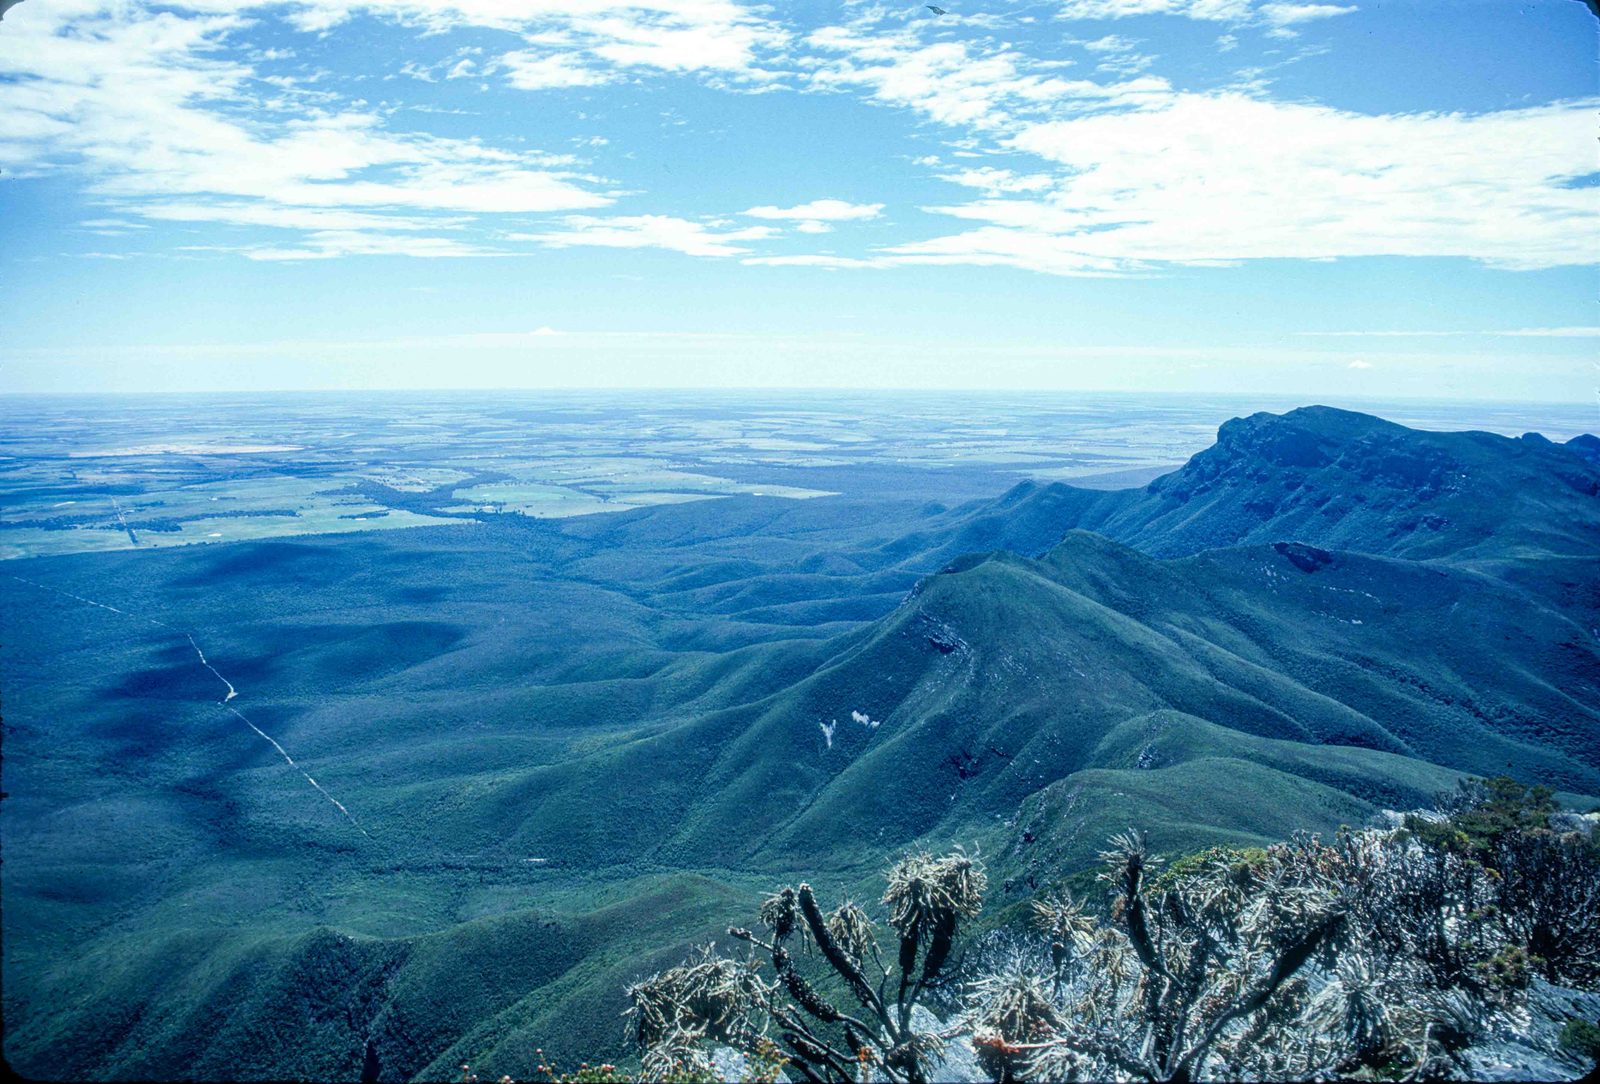
30 minFrom the base of the peak (E) the track goes round the north-west side of the dome through a pretty clump of Sheoak hugging the rock. To climb Ellen Peak, continue around the southern edge of Ellen Peak Dome until you find a natural crevice line leading up to the top. This will only take you about 15 minutes as well as the quarter an hour walk around to this zone.

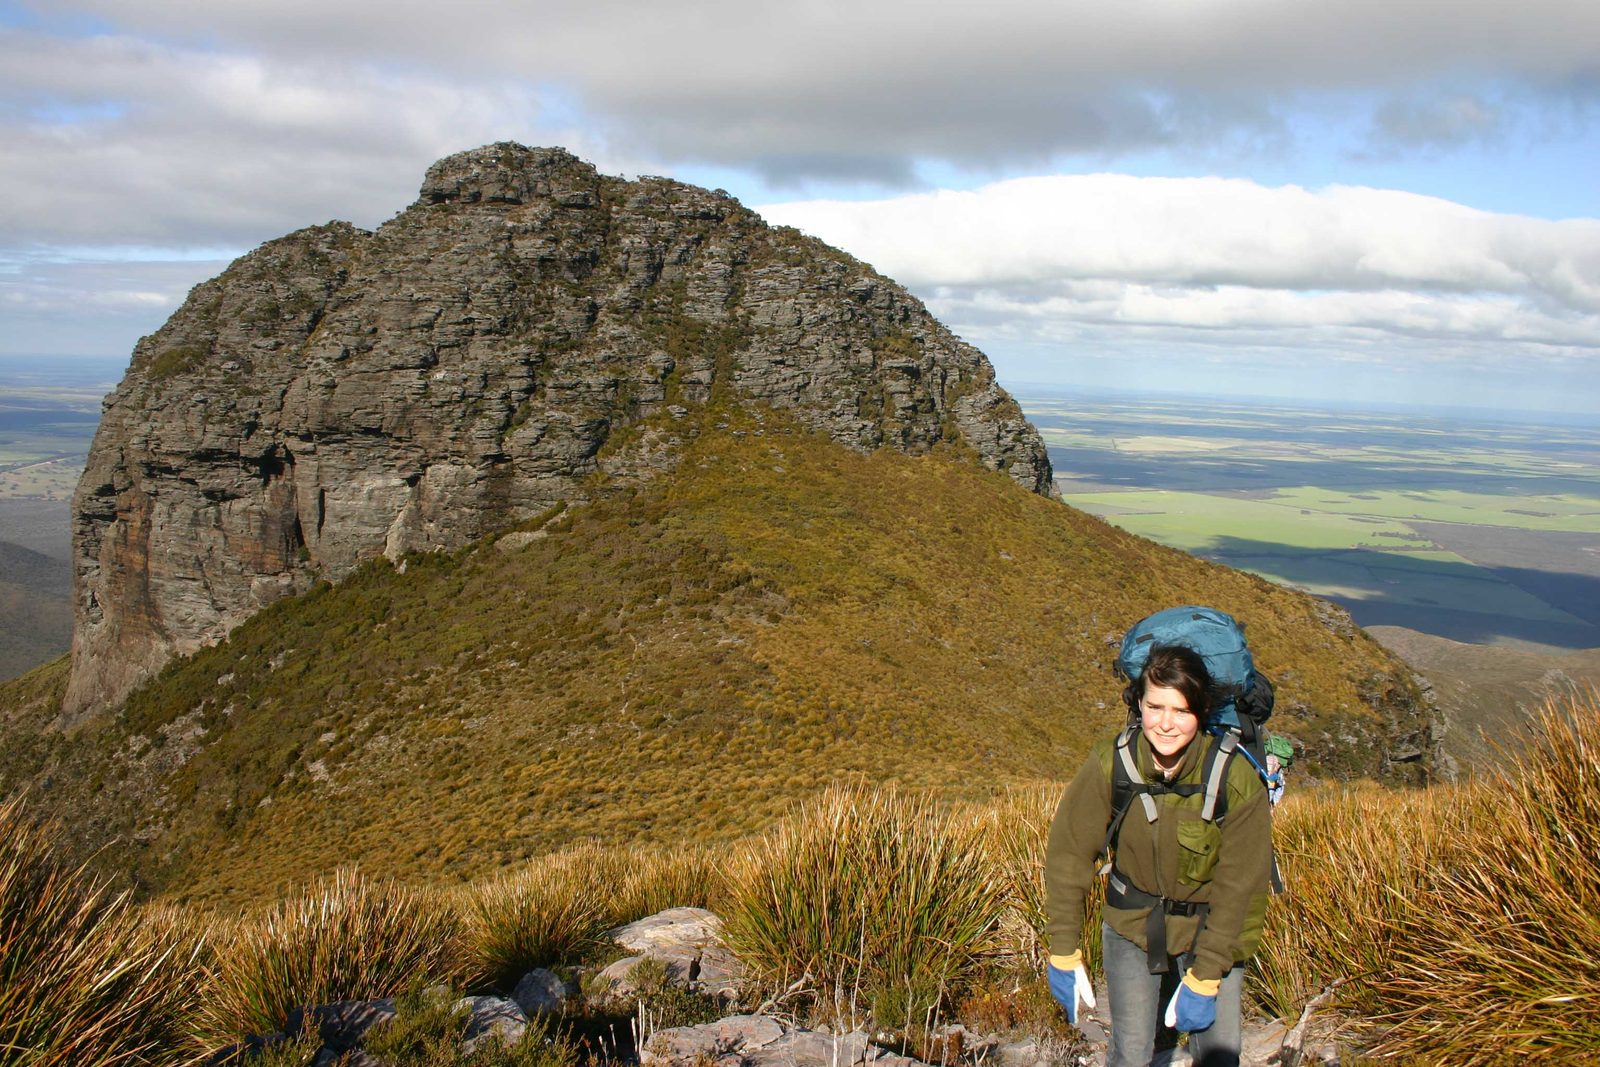
Ellen Peak to Pyungorup
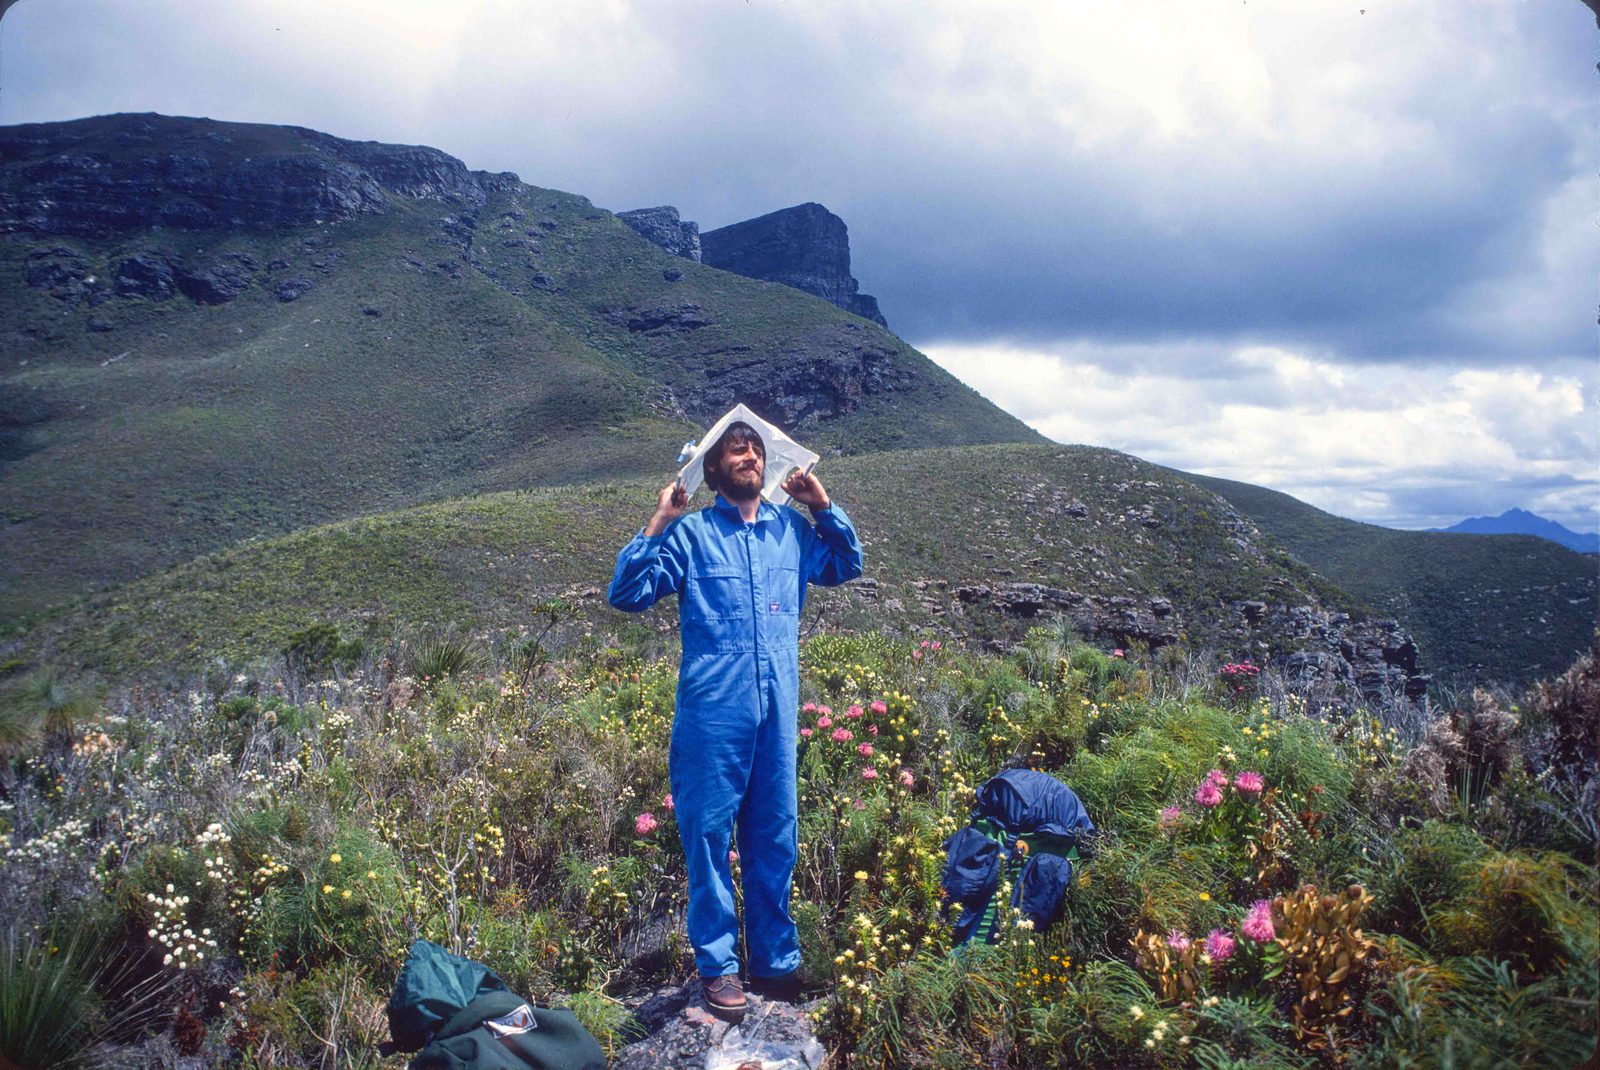
30 minAs you were walking around the dome you will have noticed the track leading to West to a saddle between this and Pyungorup Peak. Go down to the saddle and then follow the track up the steep climb to a flatter section walk almost to the flat section. The track around Pyungorup to Baker’s knob goes off to the left, that is to the southside. The track to the top continues up the steeper section to the flattened peak.
Pyungorup to Bakers Knob
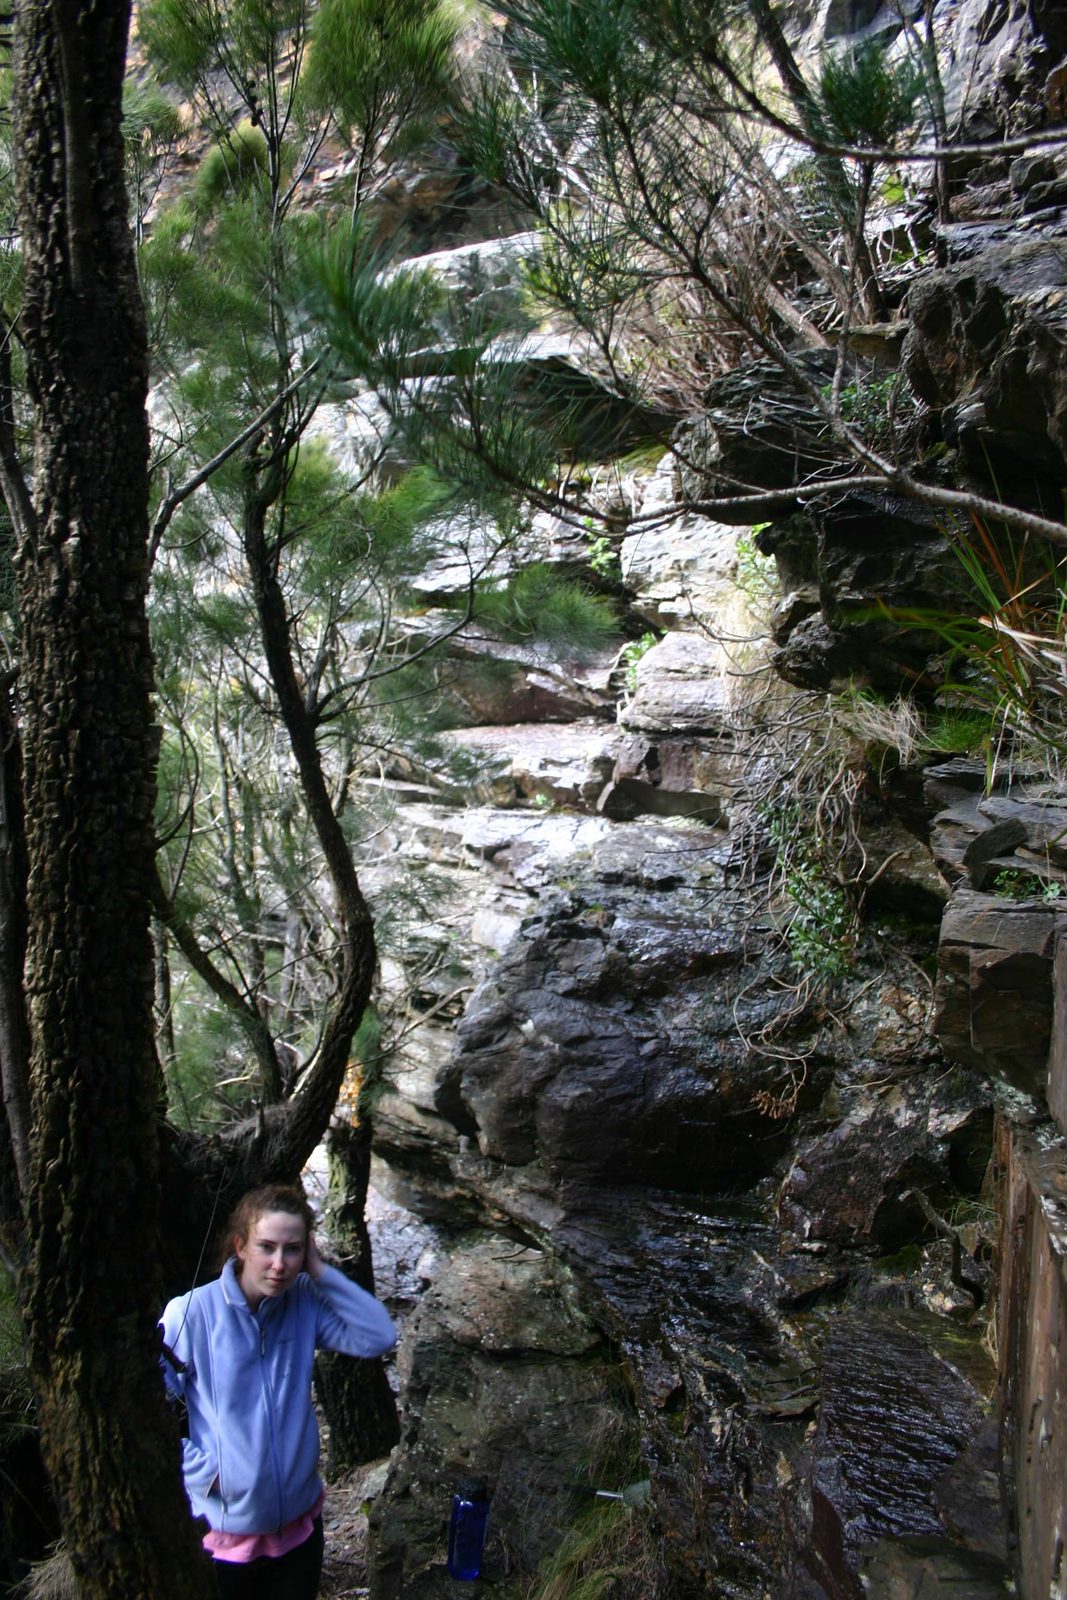
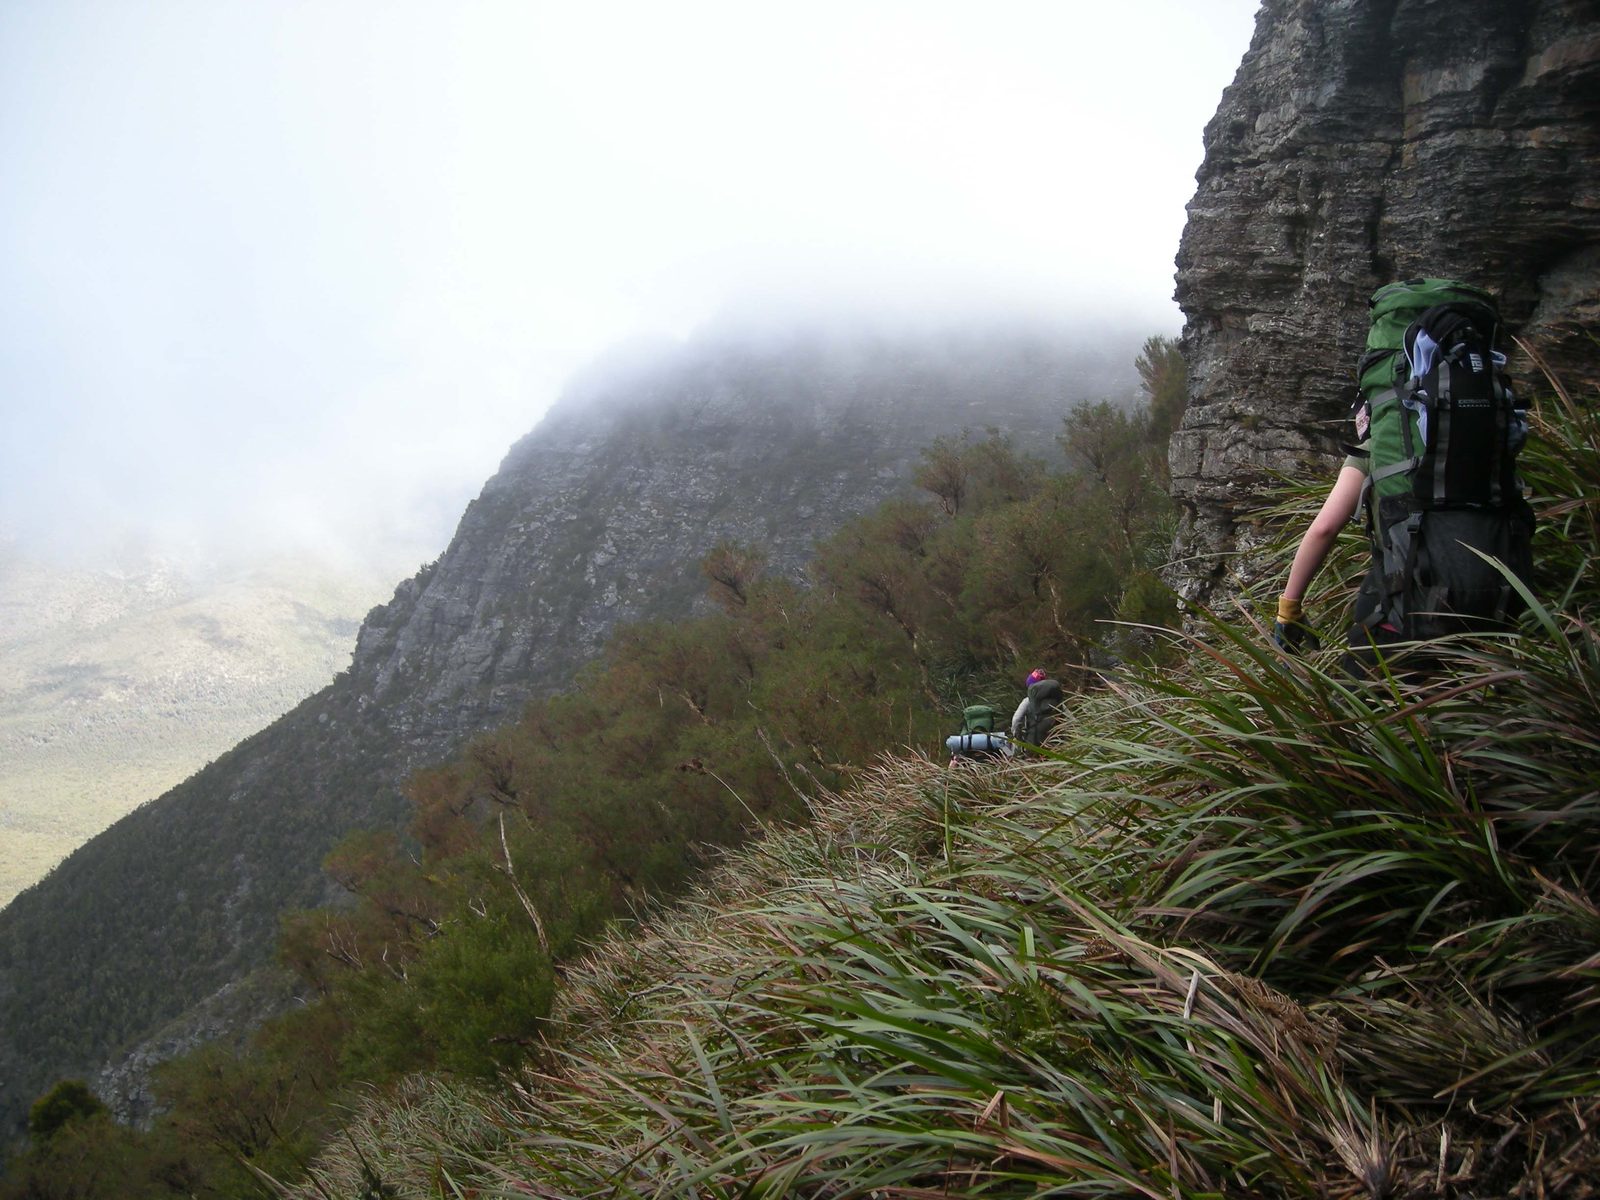
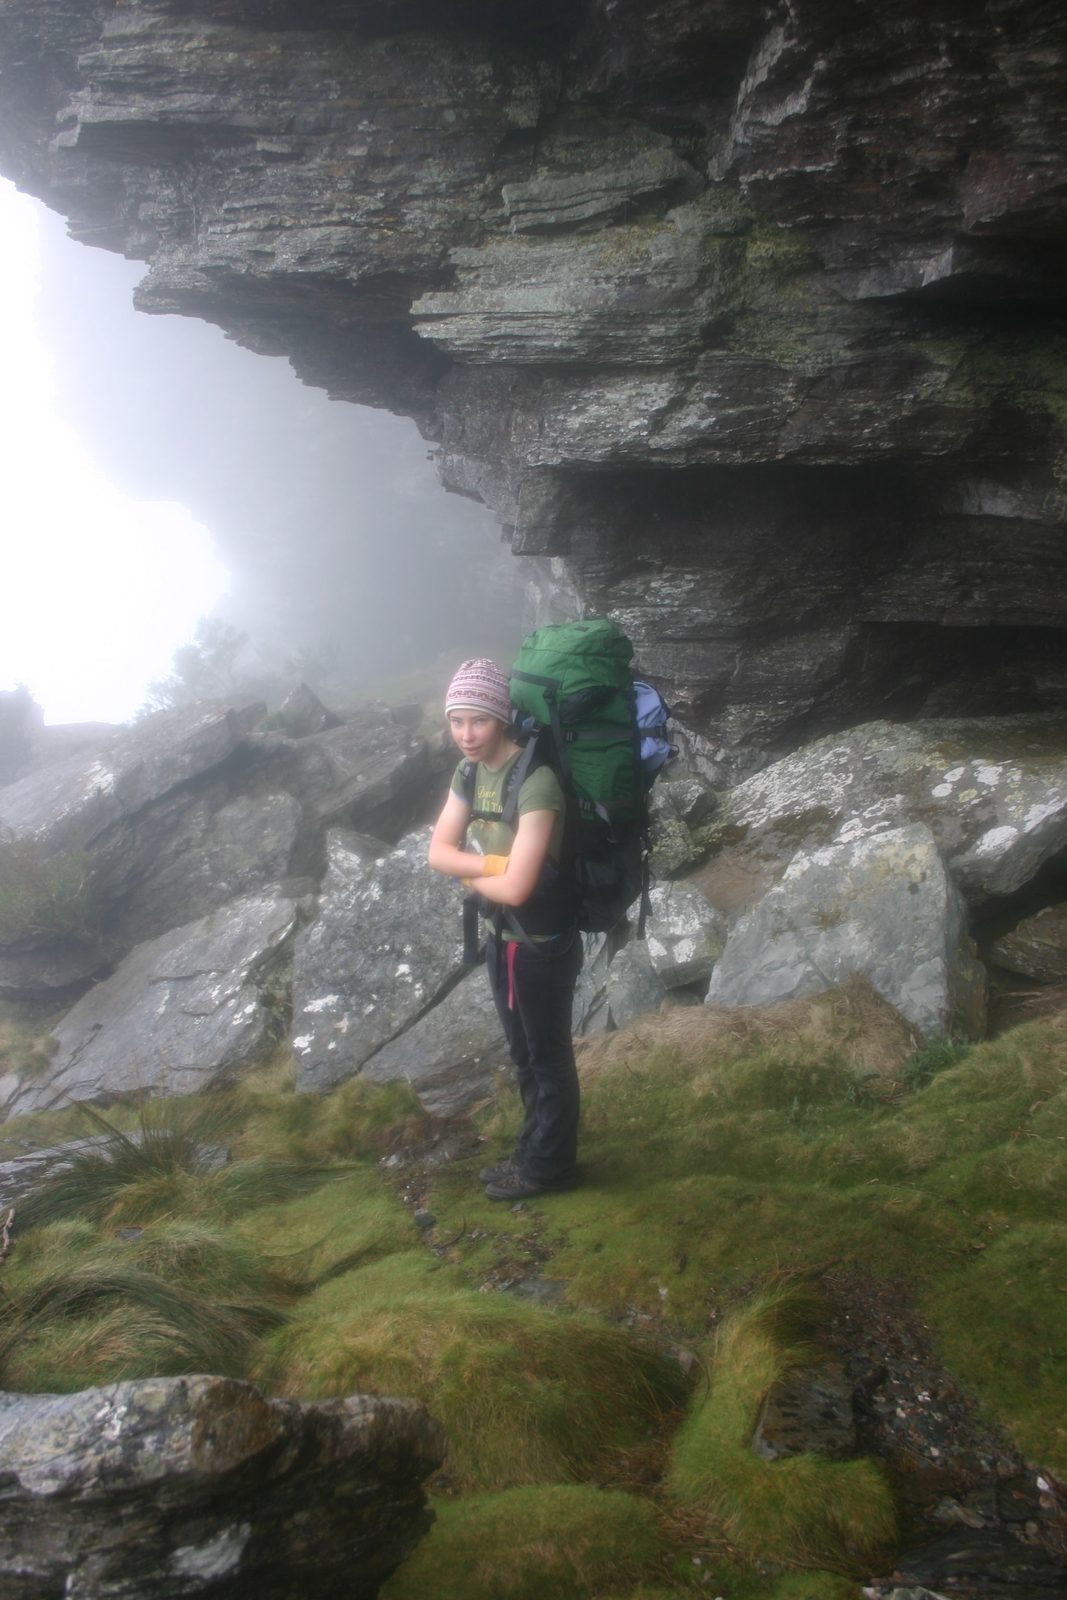
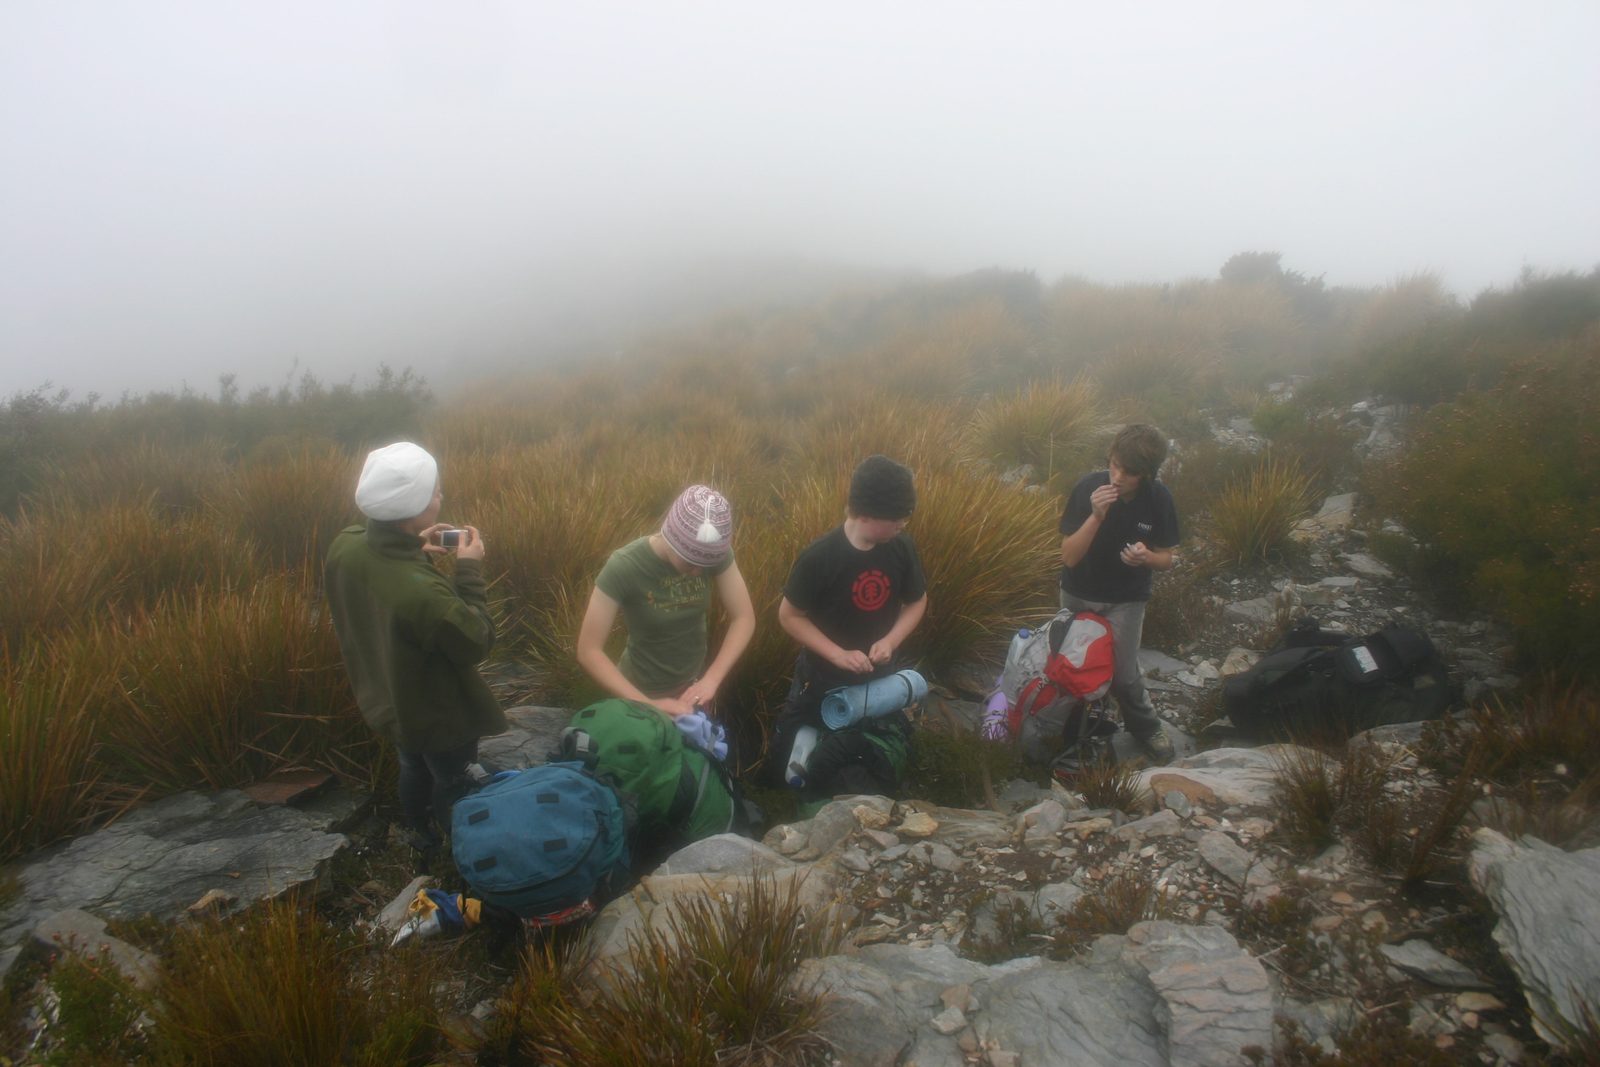
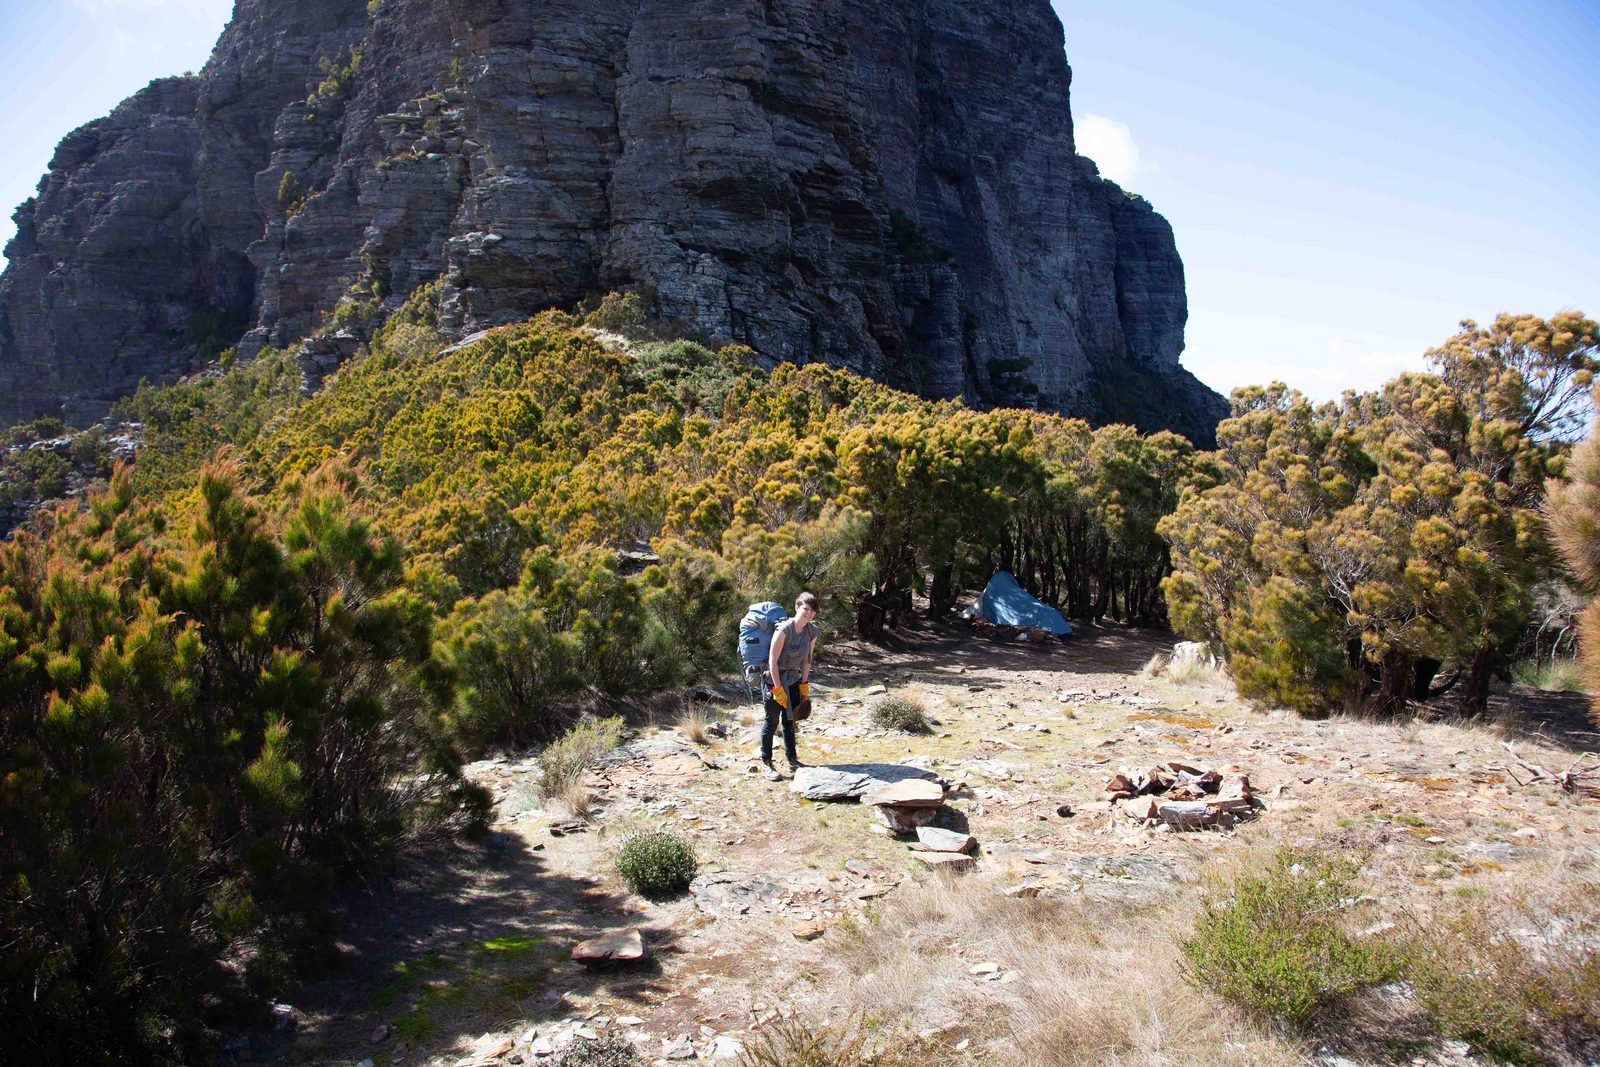
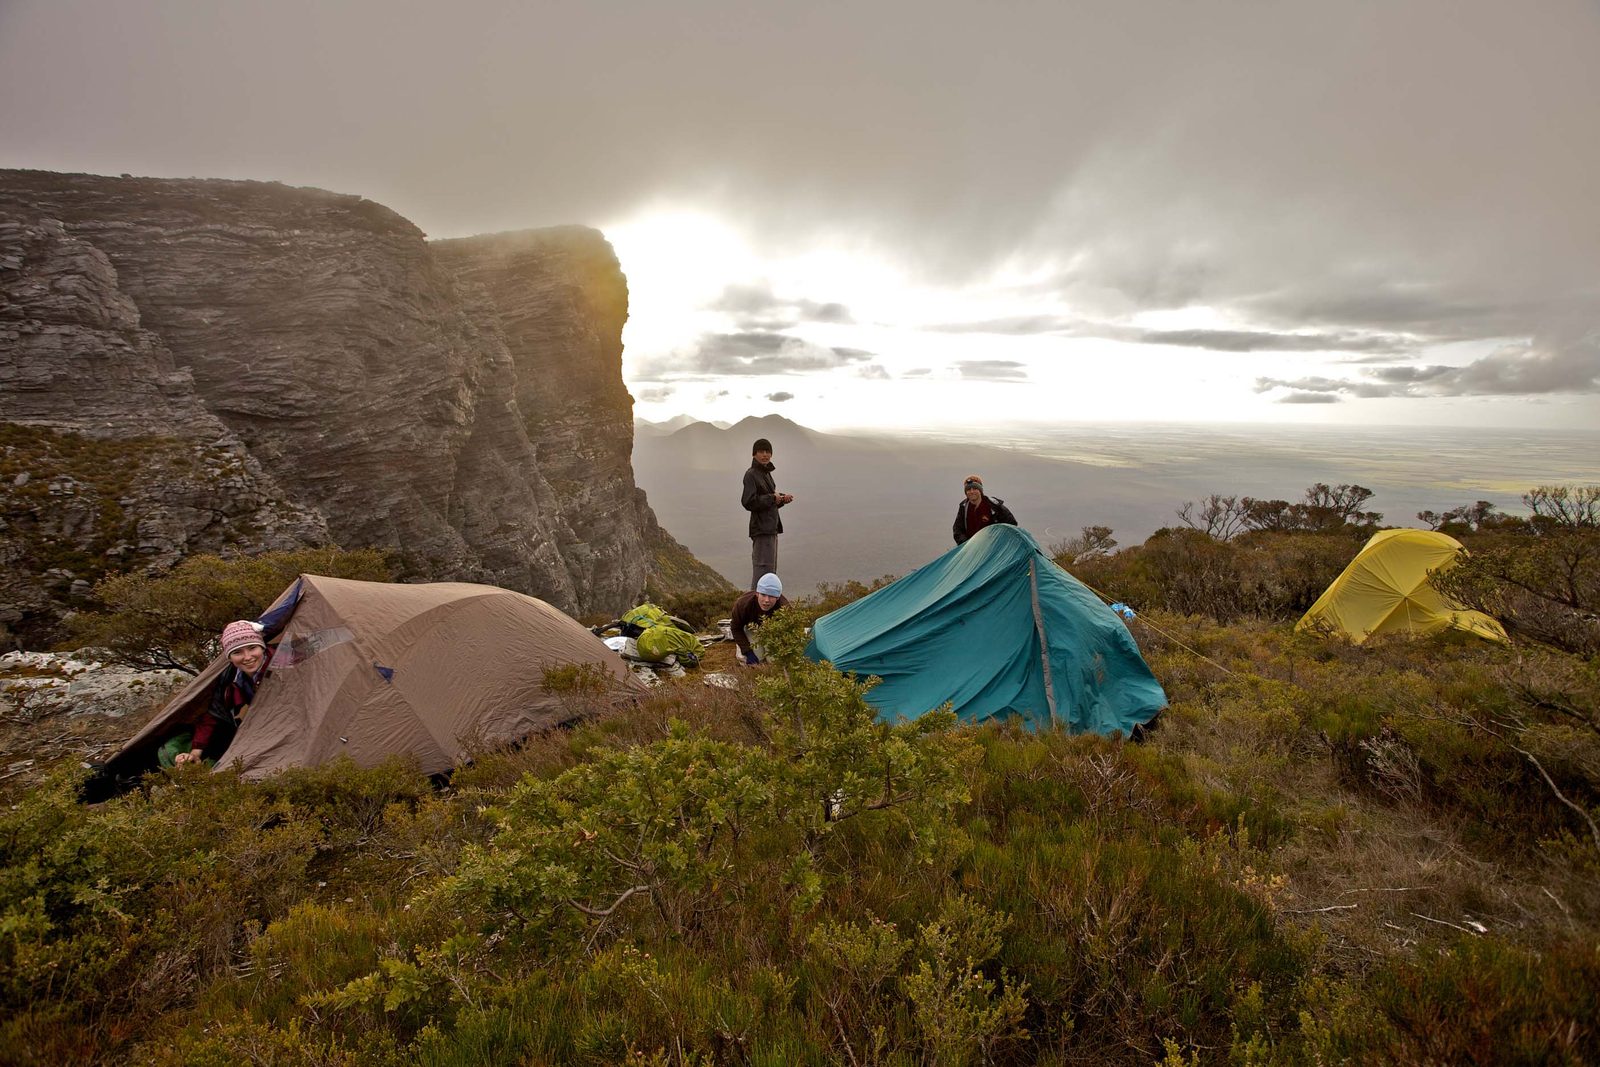
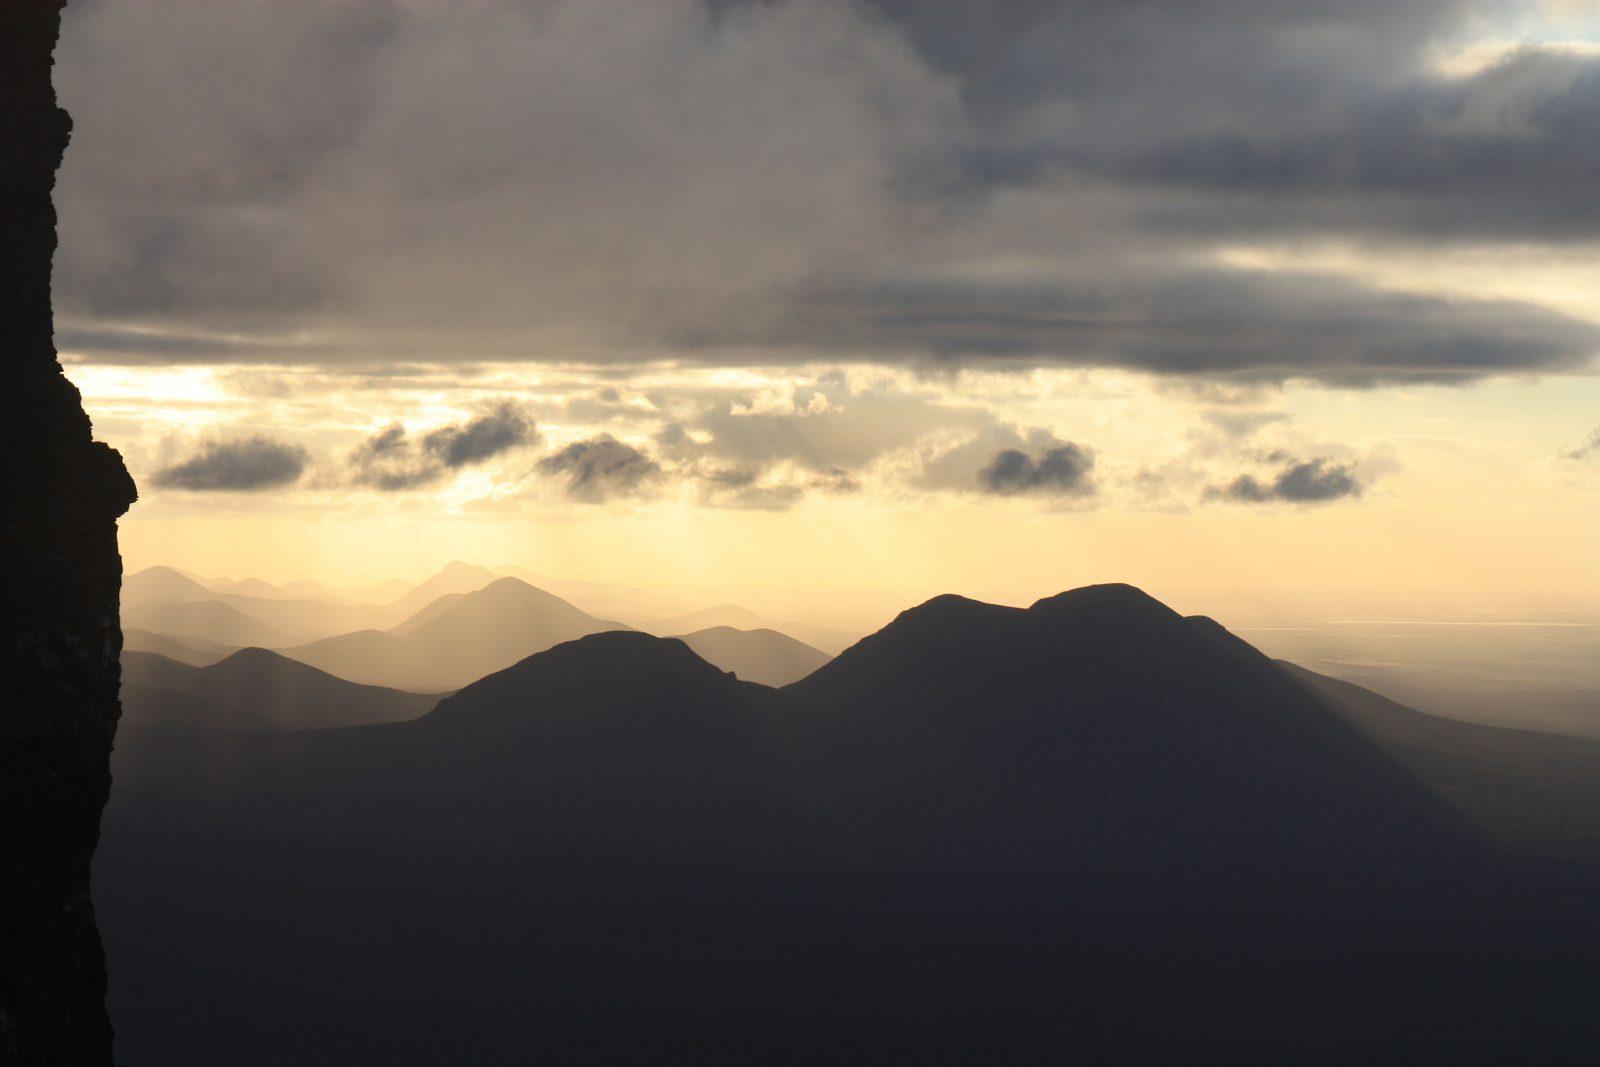
1 hourThe tricky part of this track is actually finding the path to the south side around Pyungorup (P). There are quite a few false cairns so be careful. Also, make certain that you do not go around the northside because this leads to a 1,000 foot cliff fall directly above Bakers Knob. It is impossible to go down this cliff face and you will have to walk all the way back through thick bush. As described above you will descend gently through some dry sword grass towards a slight rocky ledge and then hug this rocky ledge basically all the way round to Bakers Knob. Soon after traversing around the base of the rocky ledge you will enter a region with more green sword grass and fine native grass, then a nice sheltered cave which makes for excellent camping with a view across the southern plains. From here you will continue around the rocky ledge face occasionally having to drop sections climbing down slight rock faces, amidst sword grass. You will come to a ledge, where you have to hug the rock face and traverse this for about 50 m or so above an approximate 500 foot drop. This is one reason why you should only come with other bushwalkers who you can trust not to fall or be clumsy. Bakers knob (B) itself is a pleasant knoll and has a good camping area just on the west side of some trees which give some protection.
Do not round Pyungorup on the north side — it ends in a 1,000 foot cliff above Bakers Knob with no way down. The correct south-side line includes a ~50 m ledge traverse above an approximate 500 foot drop. Go only with people you trust on exposed ground.
Bakers Knob to 3rd Arrow
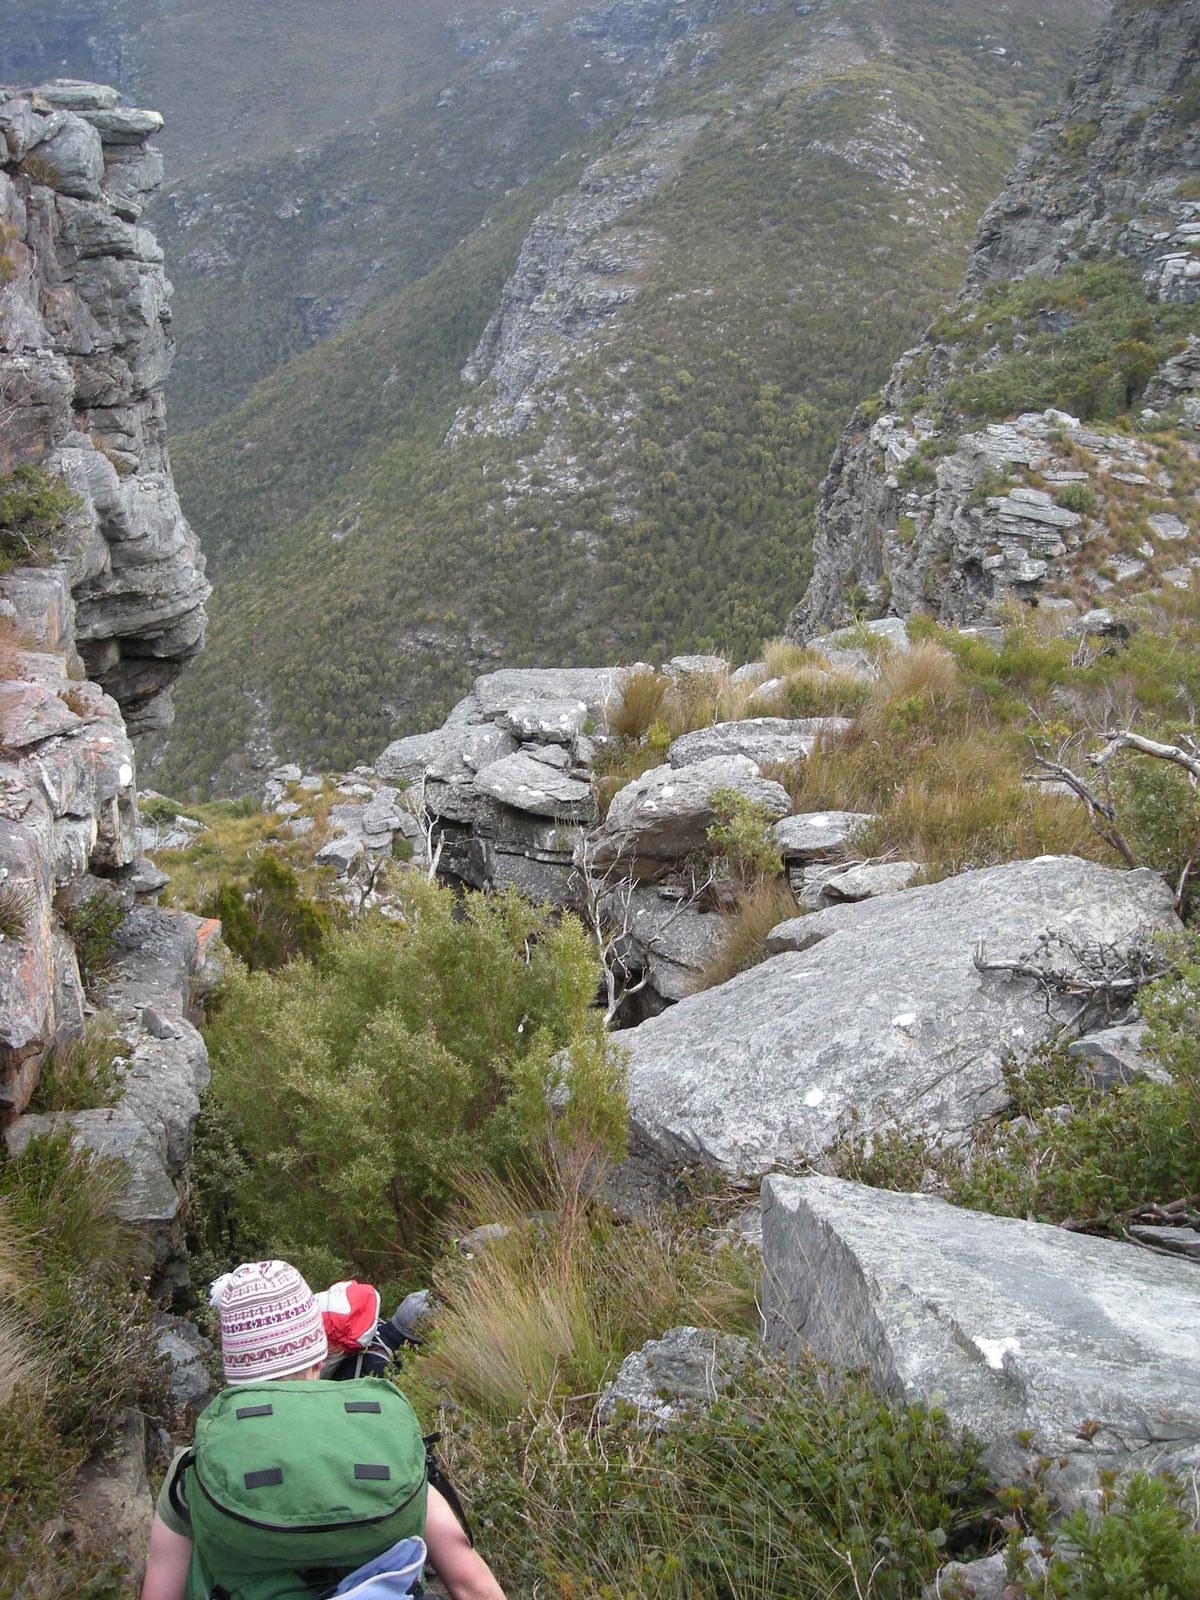
30 minNote, that there are three rock prominences called the arrows, numbered in order from west to east. The arrow you will come across now is the third arrow. From Bakers knob (B) you’ll go straight over the top and down and up towards a chasm that you can see splitting the third arrow (a3). At the eastern end of the chasm you will find another cleavage which heads in the south direction leading around to a series of small caves. From here you can climb the arrow via a slanting chimney leading up to the top. This is steep and slightly dangerous. The track goes through the chasm and at the western end of the chasm you can go south around the edge of the arrow another cleavage to a drum which sometimes contains water. Note, do not rely upon this. At this western end you can also head north around the arrow to a much larger cave which does provide quite good camping.
Third Arrow to 1st Arrow
30 minThe path to the second arrow is easy and simply tends to hug the southern side of the ridge going down and up and over the second arrow (a2) towards the first arrow. As you start to climb up the first arrow you will notice some tracks heading off on the north side. These actually go around the base of the arrow and join up with track coming up from the fire break to the north. This provides a technically easier way of rejoining the main ridge walk on the western side of the first row. This is a much longer way around but safer. If it is raining and wet, or you have companions who are not confident with steep rock climbs then this is the safer option. The main track climbs up to the top of the first arrow (a1). The view from the top of the first arrow is quite spectacular giving a nice outline of the ridge particularly looking back to the east.
Getting off the 1st Arrow
This is not to be underestimated, particularly if you’re carrying heavy packs. It is often worth having some haulage rope ready. From the top of the first arrow you can climb down to a shallow cliff which is like a vertical cliff via north-easterly or north westerly route. We generally take the north-westerly route, but each is equally difficult. This is a steep rock climb which is actually quite technical. We often lower our packs with a rope to the rocky floor and climb down. It is dangerous if it’s wet or very windy. Once you are on the rocky floor you curl around slightly to the north and pass a cave which overlooks the northern plain from where you can see the fire trail coming up this particular arrow. The cave is quite handy for camping. From the cave the trail takes you to a small cleft over a rocky outcrop to the north. Head down around the side to the rocky ridge that leads off in the direction of Isongerup. From here the track also goes down to the fire break which leads to the long fire break going east to west from the car park. Going up this track takes about one and a half hours and going down this track to the fire break about 45 minutes. This is the track you would join if you take the longer route around the base of this arrow.
The descent off the 1st Arrow is a steep, technical rock climb — carry haulage rope and lower packs. Dangerous when wet or windy. If in doubt, take the longer, safer track around the base of the arrow (see the schematic above).
Base of 1st Arrow to Isongorup
a1 to IGo west along the track around the Rocky Ridge until the main ridge is exposed and visible. The track heads around the north side of a large rock to the top of the main ridge. From here the track goes down to a saddle where there is another good camping spot. It is an easy walk to the summit of Isongorup which is really a series of small peaks.
Isongerup to Moongoongoonderup
From Isongorup the track heads off in the south-west direction over a saddle and up to a lower crest (I to M). From the crest one can walk to the southern Plains via the very long southeast ridge. From this crest the track leads down south to Moongoongoonderup.
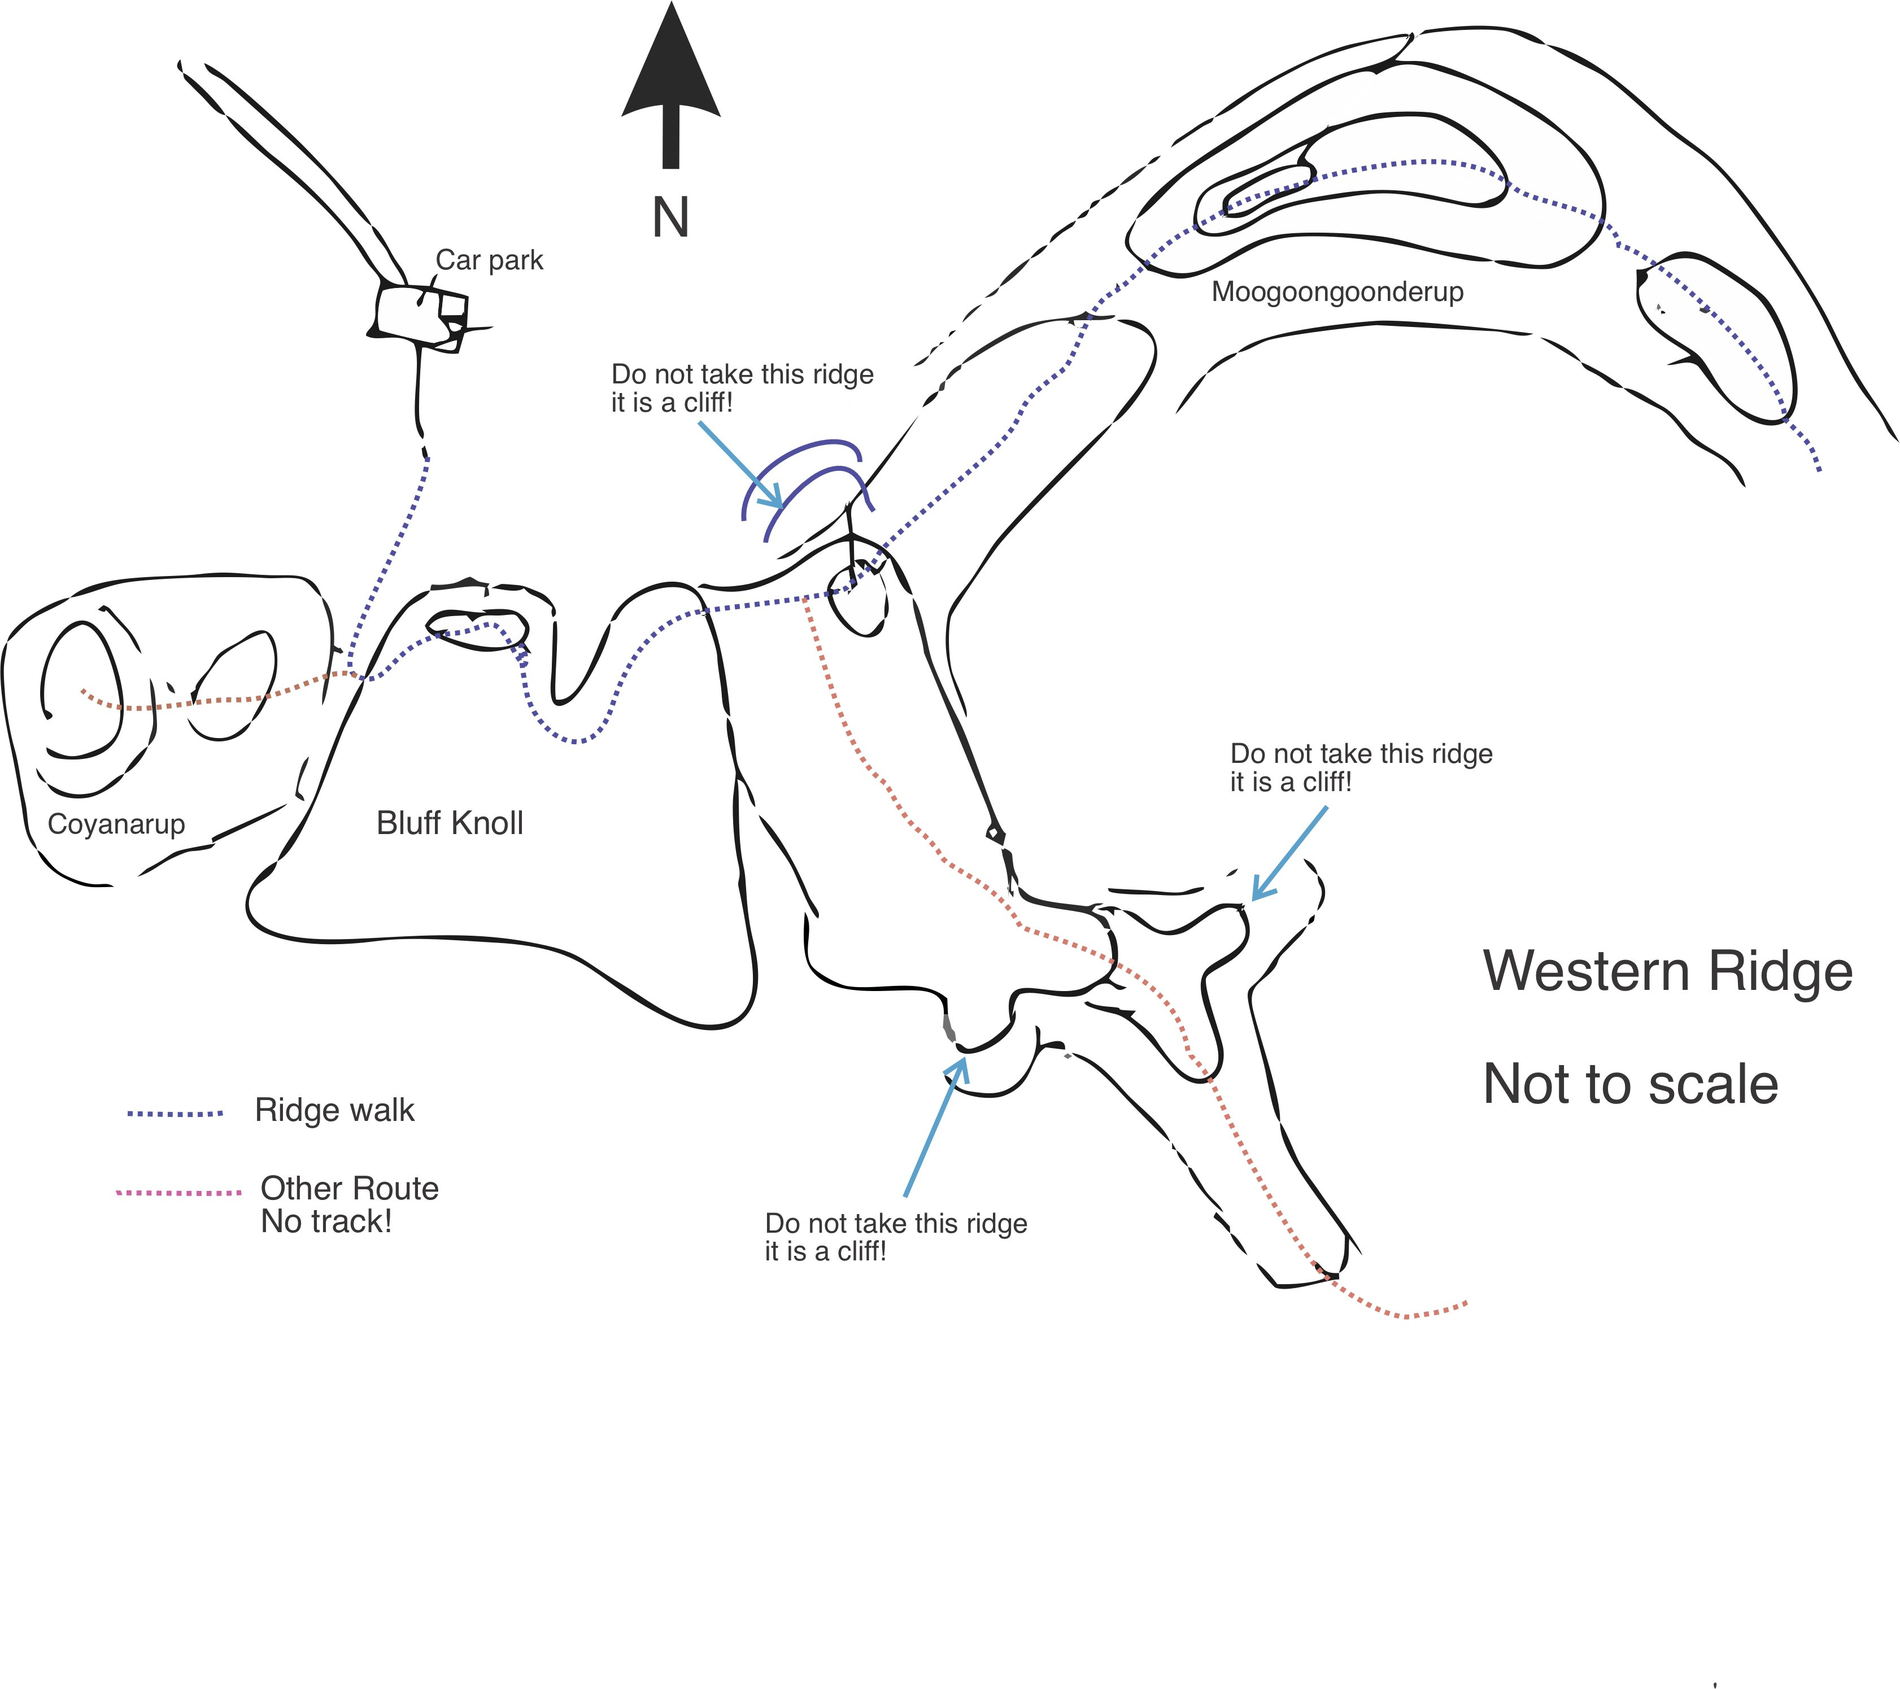
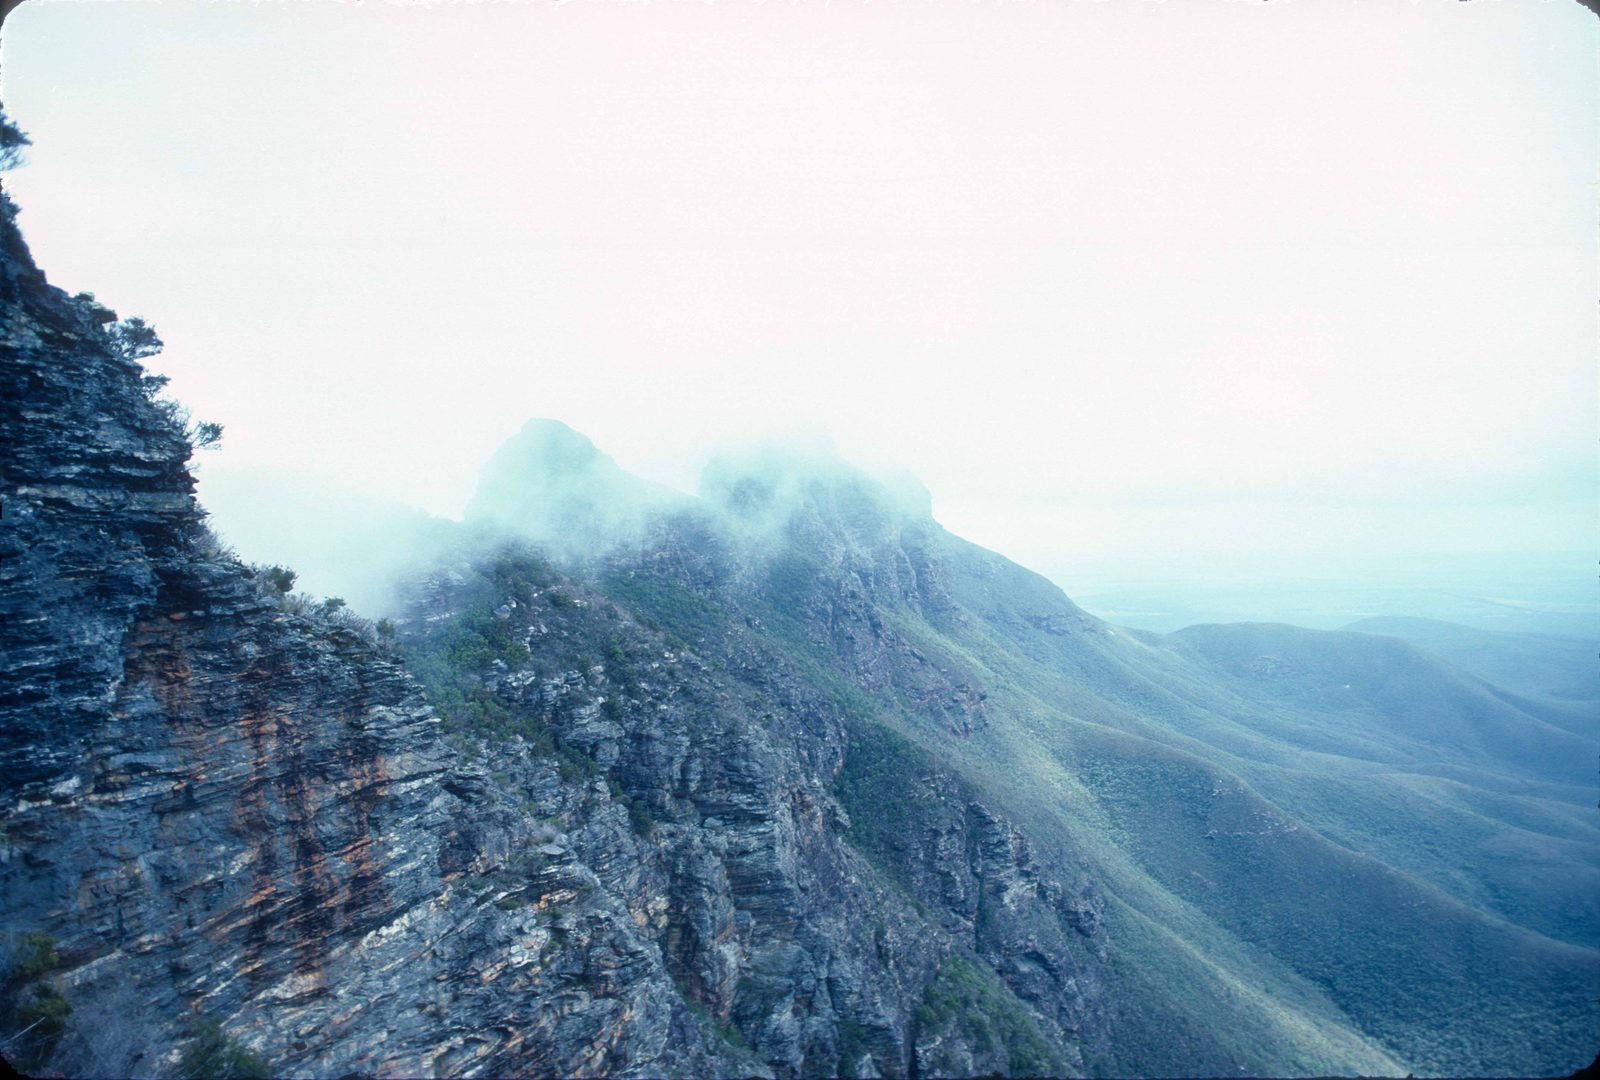
Moongoongoonderup to Bluff Knoll
M to N, BKIn this zone you can often find spectacular wildflowers particularly the Isopogon Latifolius, which has spectacular violet petalled flowers. From here the ridge track leads north westerly around then down to a small saddle which starts leading up to a ridge up the north east corner of Bluff Knoll. From the easterly direction climbing up this ridge is relatively straightforward and difficult to get lost. However if you are coming from the Westerly direction then it is actually easy to get lost because you are looking down from the top of Bluff Knoll to a choice of ridges. You need to be careful that you take the ridge which leads you down to Moongoongoonderup. Please see the map (M to N) and it may well be necessary to take compass bearings so that you choose the correct ridge. In sunshine this is relatively straightforward but in thick mist this can be difficult and I suspect some people who have become lost have done so here. Once you are on the top of Bluff Knoll it’s a relatively easy traverse westerly to where the public viewing area is on top of the mountain. The path down to the Bluff Knoll car park is very straightforward.
Descending west to east from Bluff Knoll towards Moongoongoonderup, you look down onto a choice of ridges — the wrong one ends in cliffs. Take compass bearings, and do not attempt it in thick mist. This is a likely spot for people to become lost.
Bluff Knoll to Coyanorup
OStrictly speaking, the ridge does not end at Bluff Knoll but rather continues on to Coyanorup. It is an easy walk to Coyanorup, tending to follow the north side of the ridge traversing over a small rocky saddle and then up the lower peak of Coyanorup. There are a nice views to be had looking further west towards Toolbrunup.
For the full picture of how these segments connect — and where the untracked routes branch off — see the detailed map and the other routes.